

FIRST, DON’T FORGET:
-Don’t use flash PLEASEEEEE— try ambient (the light already in the room) first before you shoot with flash. But there are some situations where it’s pitch black like it’s 4th of july waiting for fireworks and it’s really dark and you must turn flash on. Thats ok:)
-Don’t ZOOM!!…this creates grain and unwanted “noise” (a film term which is the little dots on the photo)
-Clean your lens off. Sometimes they get smudged by being in our pockets or purses causing blurry images.
-Manually set the focal point by tapping on the subject. This will ensure focus!
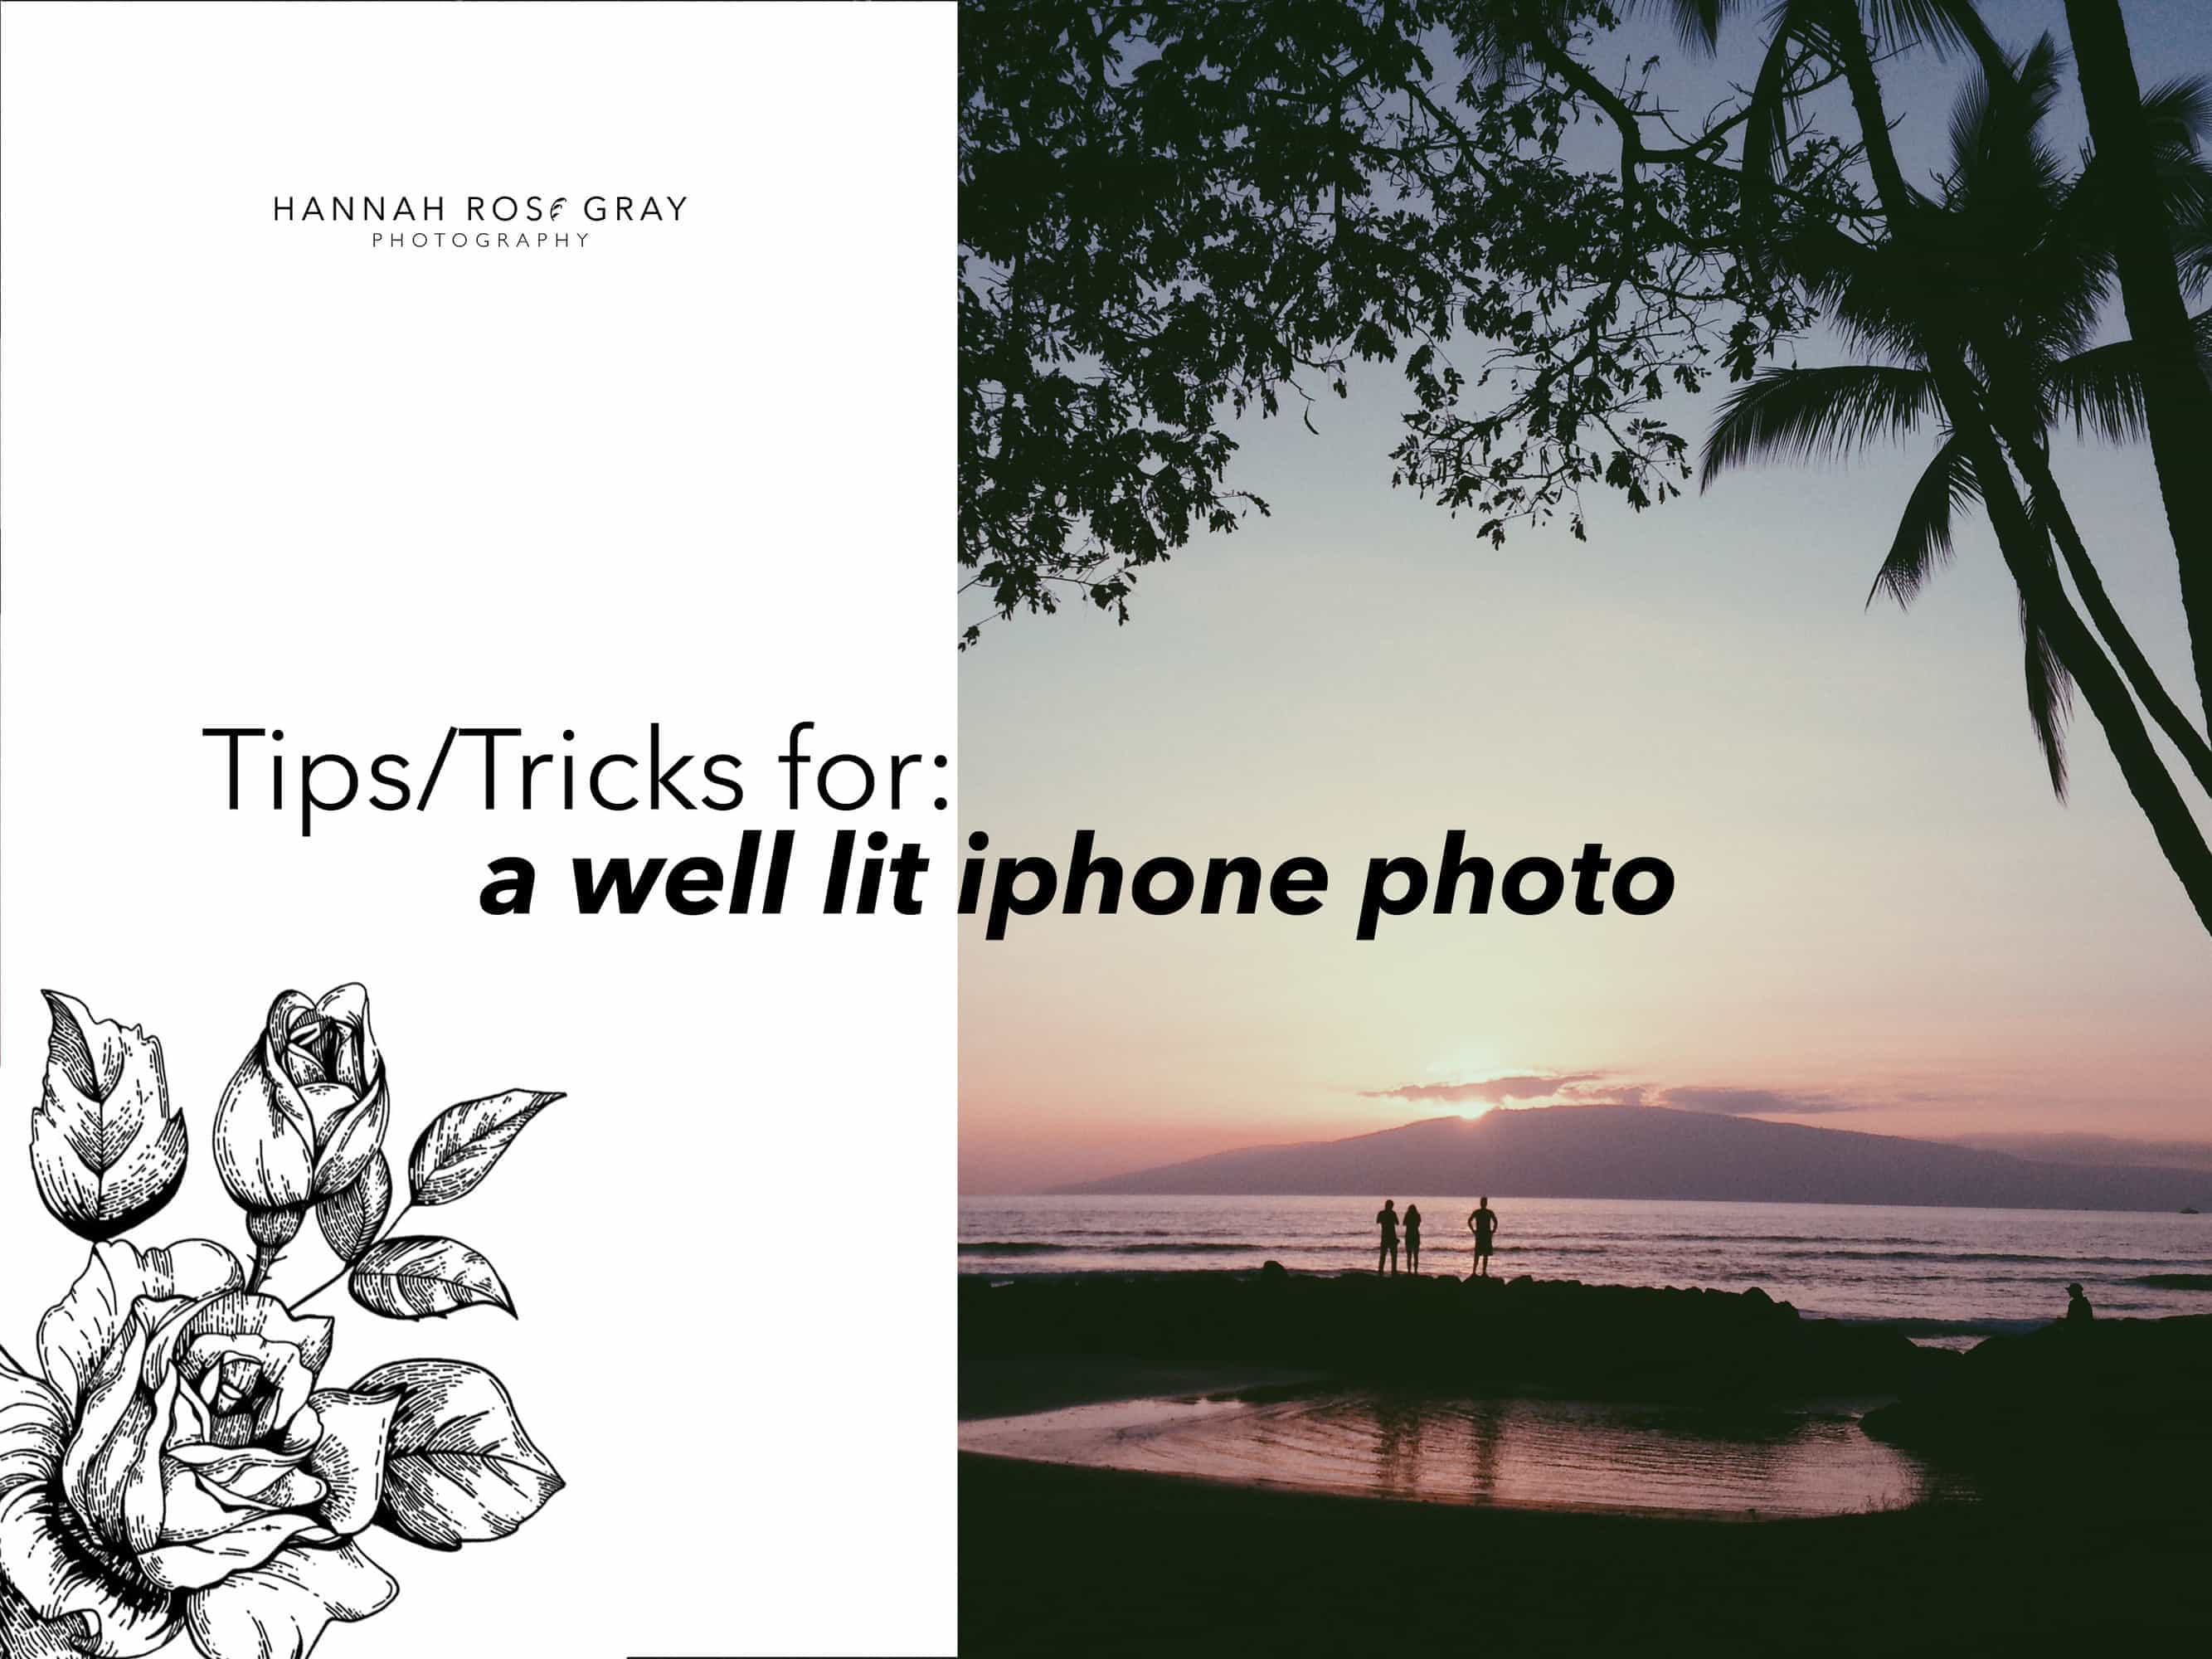
Many many many people ask me how to take a good photo…so I thought I would share some of my iPhone photos and tricks I’ve found to take good iPhone photos. (These are all my iphone photos over the last couple years.. there might be a lot of photos of me and Jacob sorry, not sorry!!)
THE MOST IMPORTANT THING IS: reading the light.
Photography is the study of light. Without light there is no photograph——it would be a black image. Here are some basic tips on reading light or how to take photos in different types of light. The sun will tell all. What matters is where the direct of the sun is hitting. We’ll go through a few options with examples that explains where the sun is and how to shoot with it.
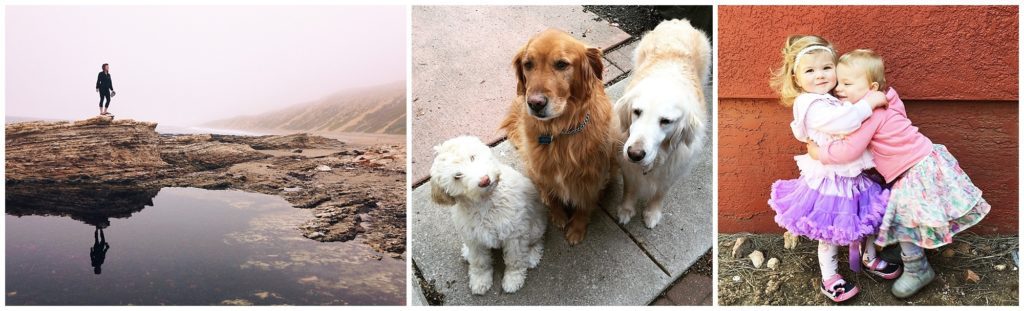
*SHADE:
The easiest possible light to photograph in would be shade. When you are out in bright bright sun this is one of the hardest times to get a great photo. Many people think “oh yay, the sun is out, so therefore it must be a good photo” buts not the truth. Usually when the sun is high you are squinting right? That will show up in your photo with harsh shadows on your face or squinty eyes. If you want to take a good photo but the sun is really bright… FIND SHADE. Next to a building that is casting a shadow, under a tree, etc. OR CLOUDY– is best of the best. The clouds block the rays of the sun and defuse the light so you are able shoot at high noon without shadows (usually). These days are the best for wedding photography because you can shoot all day without issues of the sun casting shadows.
**Pro tip: While you are in the shade still FACE THE DIRECTION of the sun. This allows light to still hit your subjects face without creating harsh shadows. Basically, the light is bouncing say off the ground and back up to your face. (indirect light)
Examples:

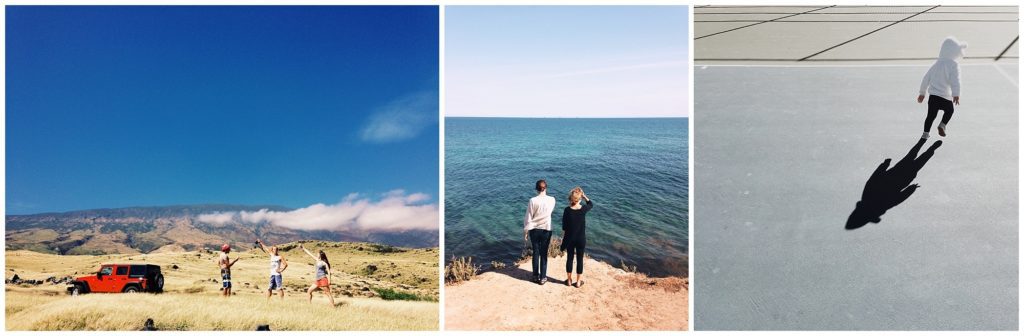
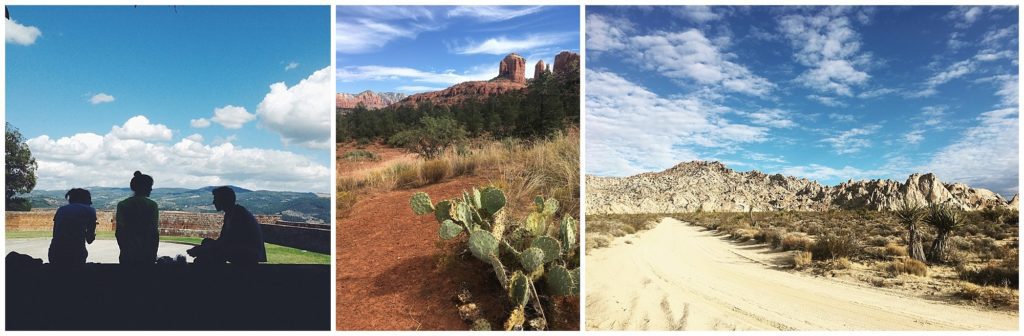
*FULL SUN:
If there is no possibility in finding shade and you want to play with the shadows the sun casts GO FOR IT!! I do this a lot for more artsy shots or silhouettes. For this though I don’t have my subjects look at the camera. It’s more about them being in surroundings. These are not the shots where you look and cheese at the camera. (find shade for that if you want a good photo) Below are some examples of full sun shots but still looking good:
**Pro tip: Play with the shadows by having your subject face the sun and you shoot from behind or side. You get their shadow on the ground which turns out artsy.
OR… have sun on their backs and shoot their face with side light or back light. !!
Examples:
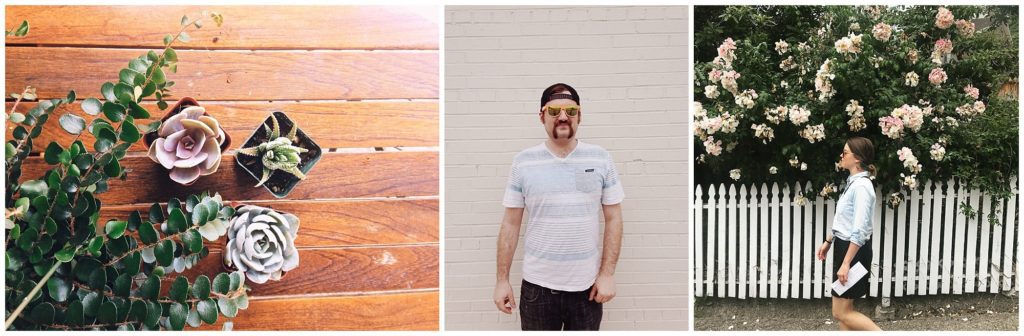
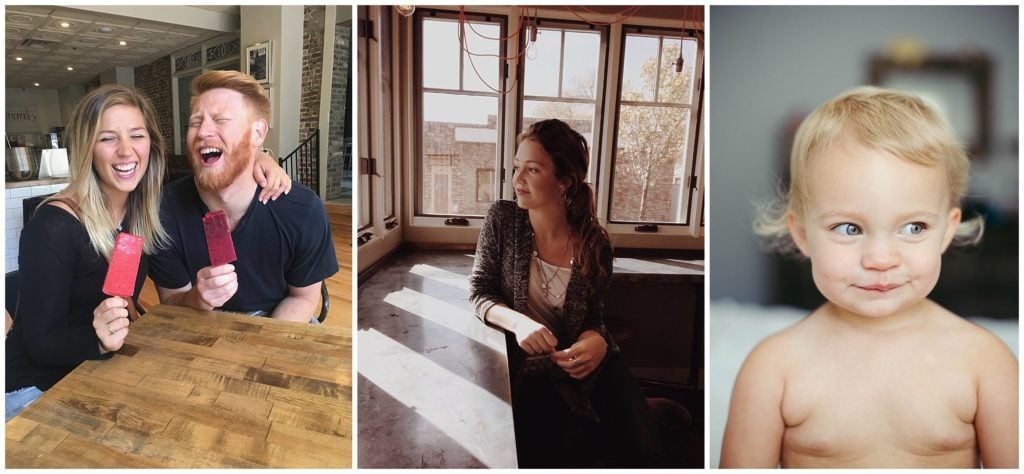
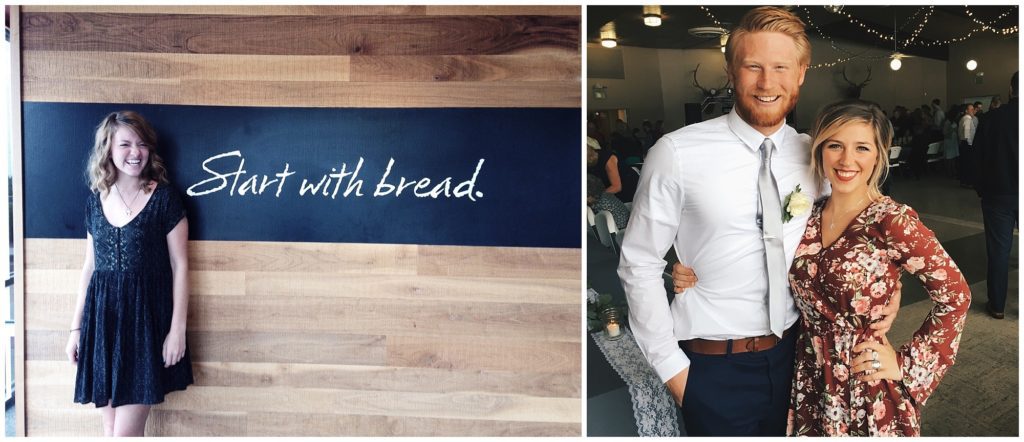
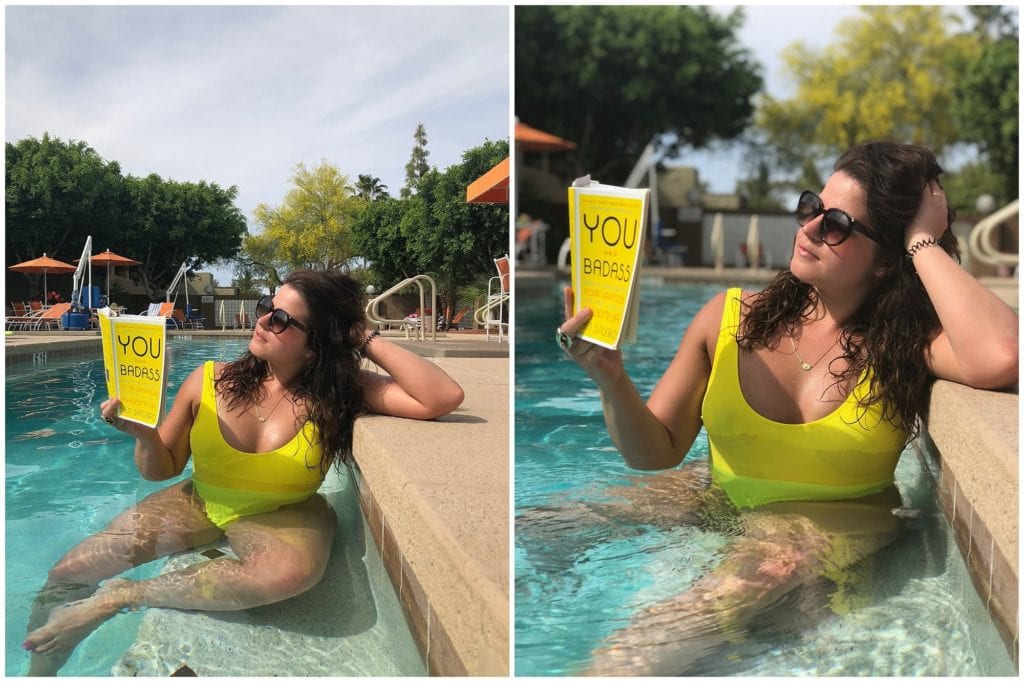
*INSIDE/INDIRECT LIGHT:
ALWAYS find the windows. ALWAYS face the windows. Windows are acting as your light source (sun) so you want your subject to face the windows if you a nice even lit face. Or when you want to photograph a beautiful plate of food you just made, find the windows. They will cast even light on your subject without casting too many shadows. This is one of the major issues people have when they want to take a picture inside say at a wedding reception, out to dinner, or of their kids. FACE THE SUBJECTS TOWARD THE LIGHT!
**Pro tip: although if you turn your subject around to have the light hit their back you can create a cool silhouette. But you would want a big window with it realllyyyy bright coming outside. Say… a cute prego lady and you want the shape of her body.
Examples:
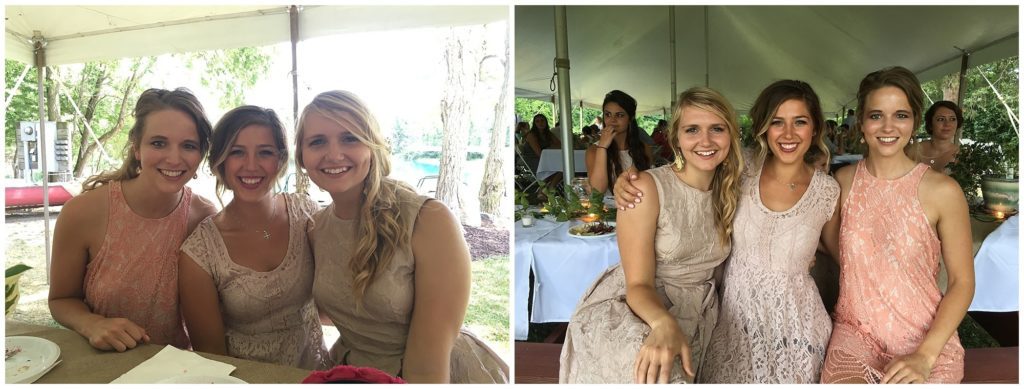
THIS IS THE BEST EXAMPLE I HAVE (the the above of us 3 girls) where facing the light “inside” will make a difference. We were at a wedding underneath a tent but the sun was behind us. I saw the photo and was like no no sorry we need to retake that but flip so we are facing the light!! I personally like the second one on the right where we are fully lit evenly! Because we were facing the light source.
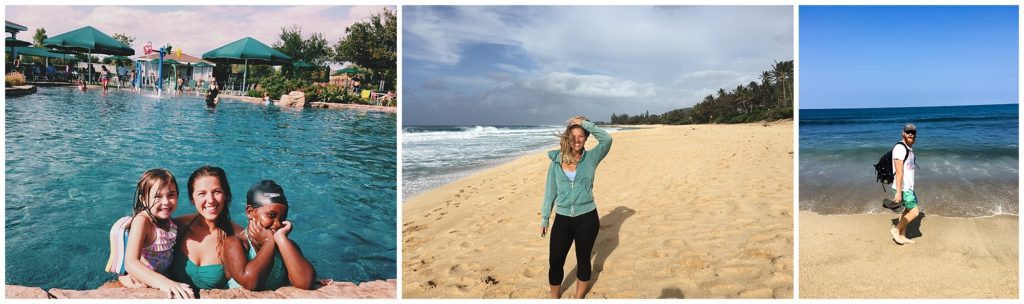
*BACKLIGHT/SUNSET:
This is my very very very very very favorite. Can I say very again?? Because lighting your subject with backlight is FREAKING BEAUTIFUL and will give you an image with a pretty sun-flare even with an iphone. This turns out best an hour before sunset and through the sunset. First find some sort of tree hanging down to defuse the light (until it’s perfect timing). Then what you want to do is find the sun and turn your subject away from the sun. The sun will be on their back/head. Your subjects face might be a little dark/or shady. This is ok but you can click on the iphone to brighten exposure. My examples show better what I am talking about below. This creates a beautiful halo look on the subjects face or head. You can do this with landscapes as well. Be careful because shooting directly into the sun can be hard. You really have to play around with your direction, angle, and objects you are using to defuse the light.
BUT if this isn’t working turn the subject around to face the sunset (usually right after sunset is best for this, pretty light). This will ensure a well lit photo.
**Pro Tip: What I like to do is block the sun with the subjects head or body which creates even more of a sun halo. Sometimes you can catch little sparkles in the air floating around.
Examples:
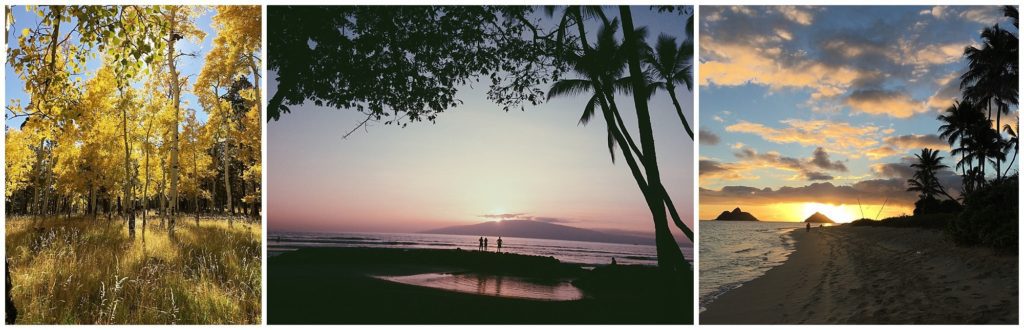

This is a great example above of SUNSET backlight and sunset front light. Both pretty evenly lit. You get to choose what you like best with the scene.
COOL TRICKS:
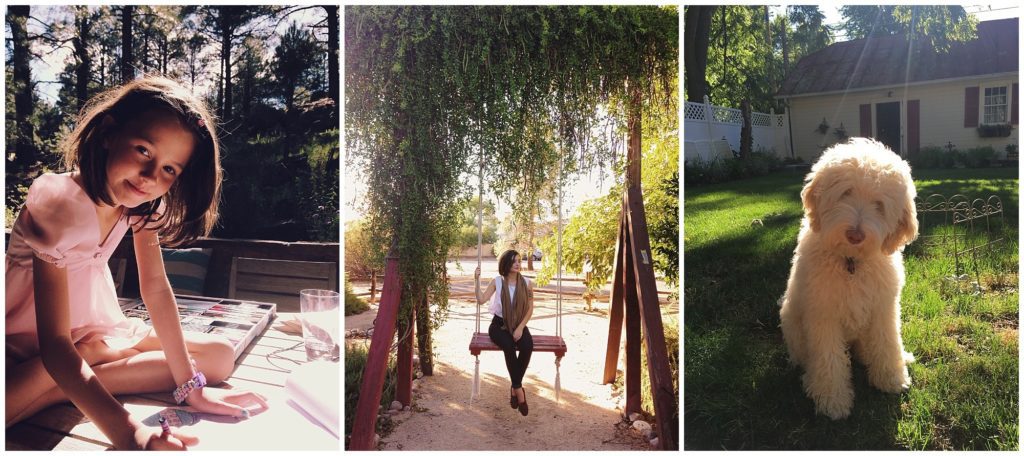
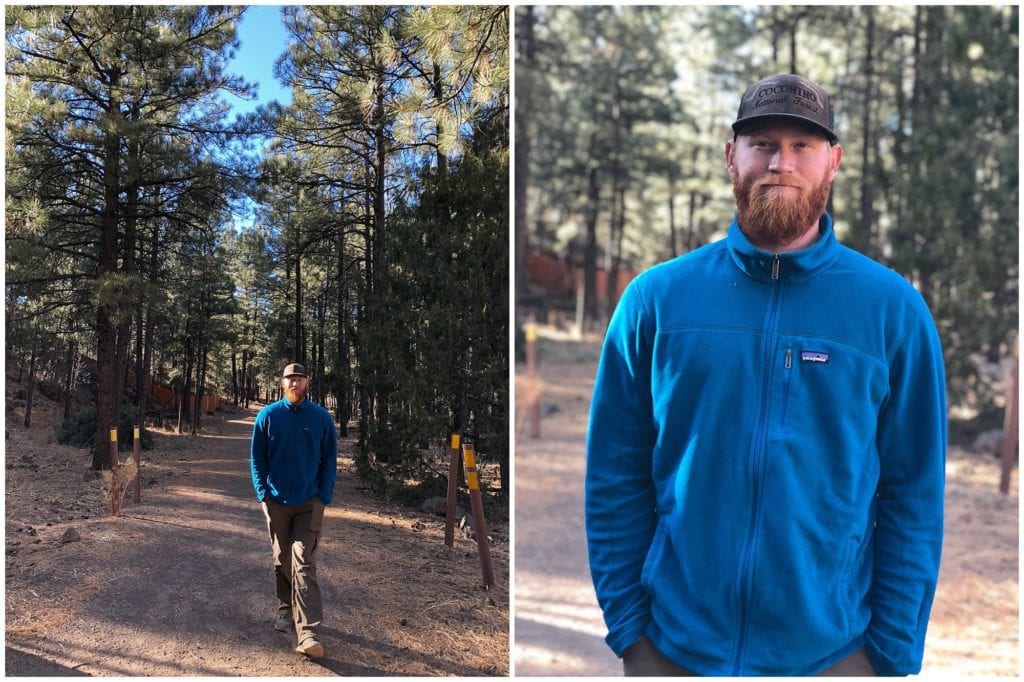
-Portrait Mode for Depth of Field!! You know those professional photos where the subject is in focus and everything else is out of focus?? YAA iphone 8’s and up have this new portrait mode which does some similar!!! Here are a few examples with and without the portrait mode:

-Use Foam white board to bounce light or use for clean background if you want to stylize products
-Use Fabric to style- adds texture and makes photo interesting
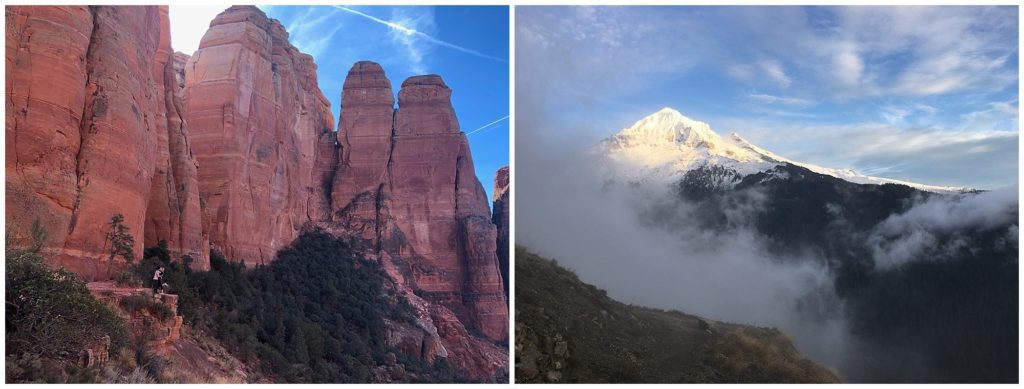
–HDR mode!!! High Dynamic Range. This technique will take 3 photos (shadows, the highlights, and midrange ) and combine them all into one shot with all three. I use this mostly for landscape shots!! It will amaze you.
Okay friends!! Ask me any questions you have. I hope this helps you take better iphone photos!! So good you want to print them out!!!
xoxo Hannah Rose


