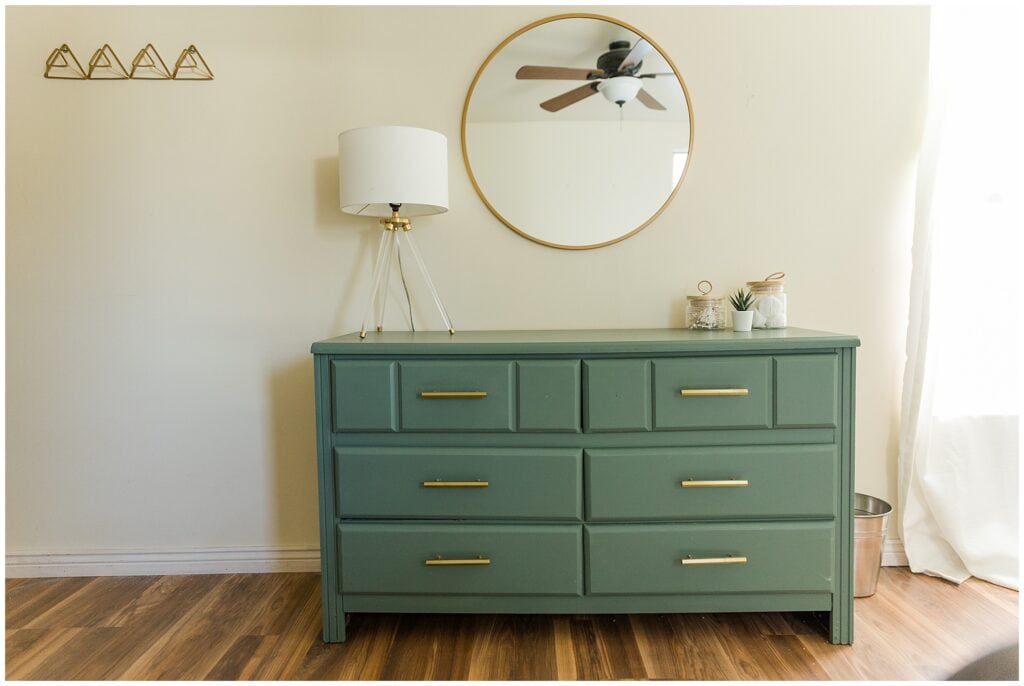
Easy tips on how to refurbish a Goodwill $15 dresser!
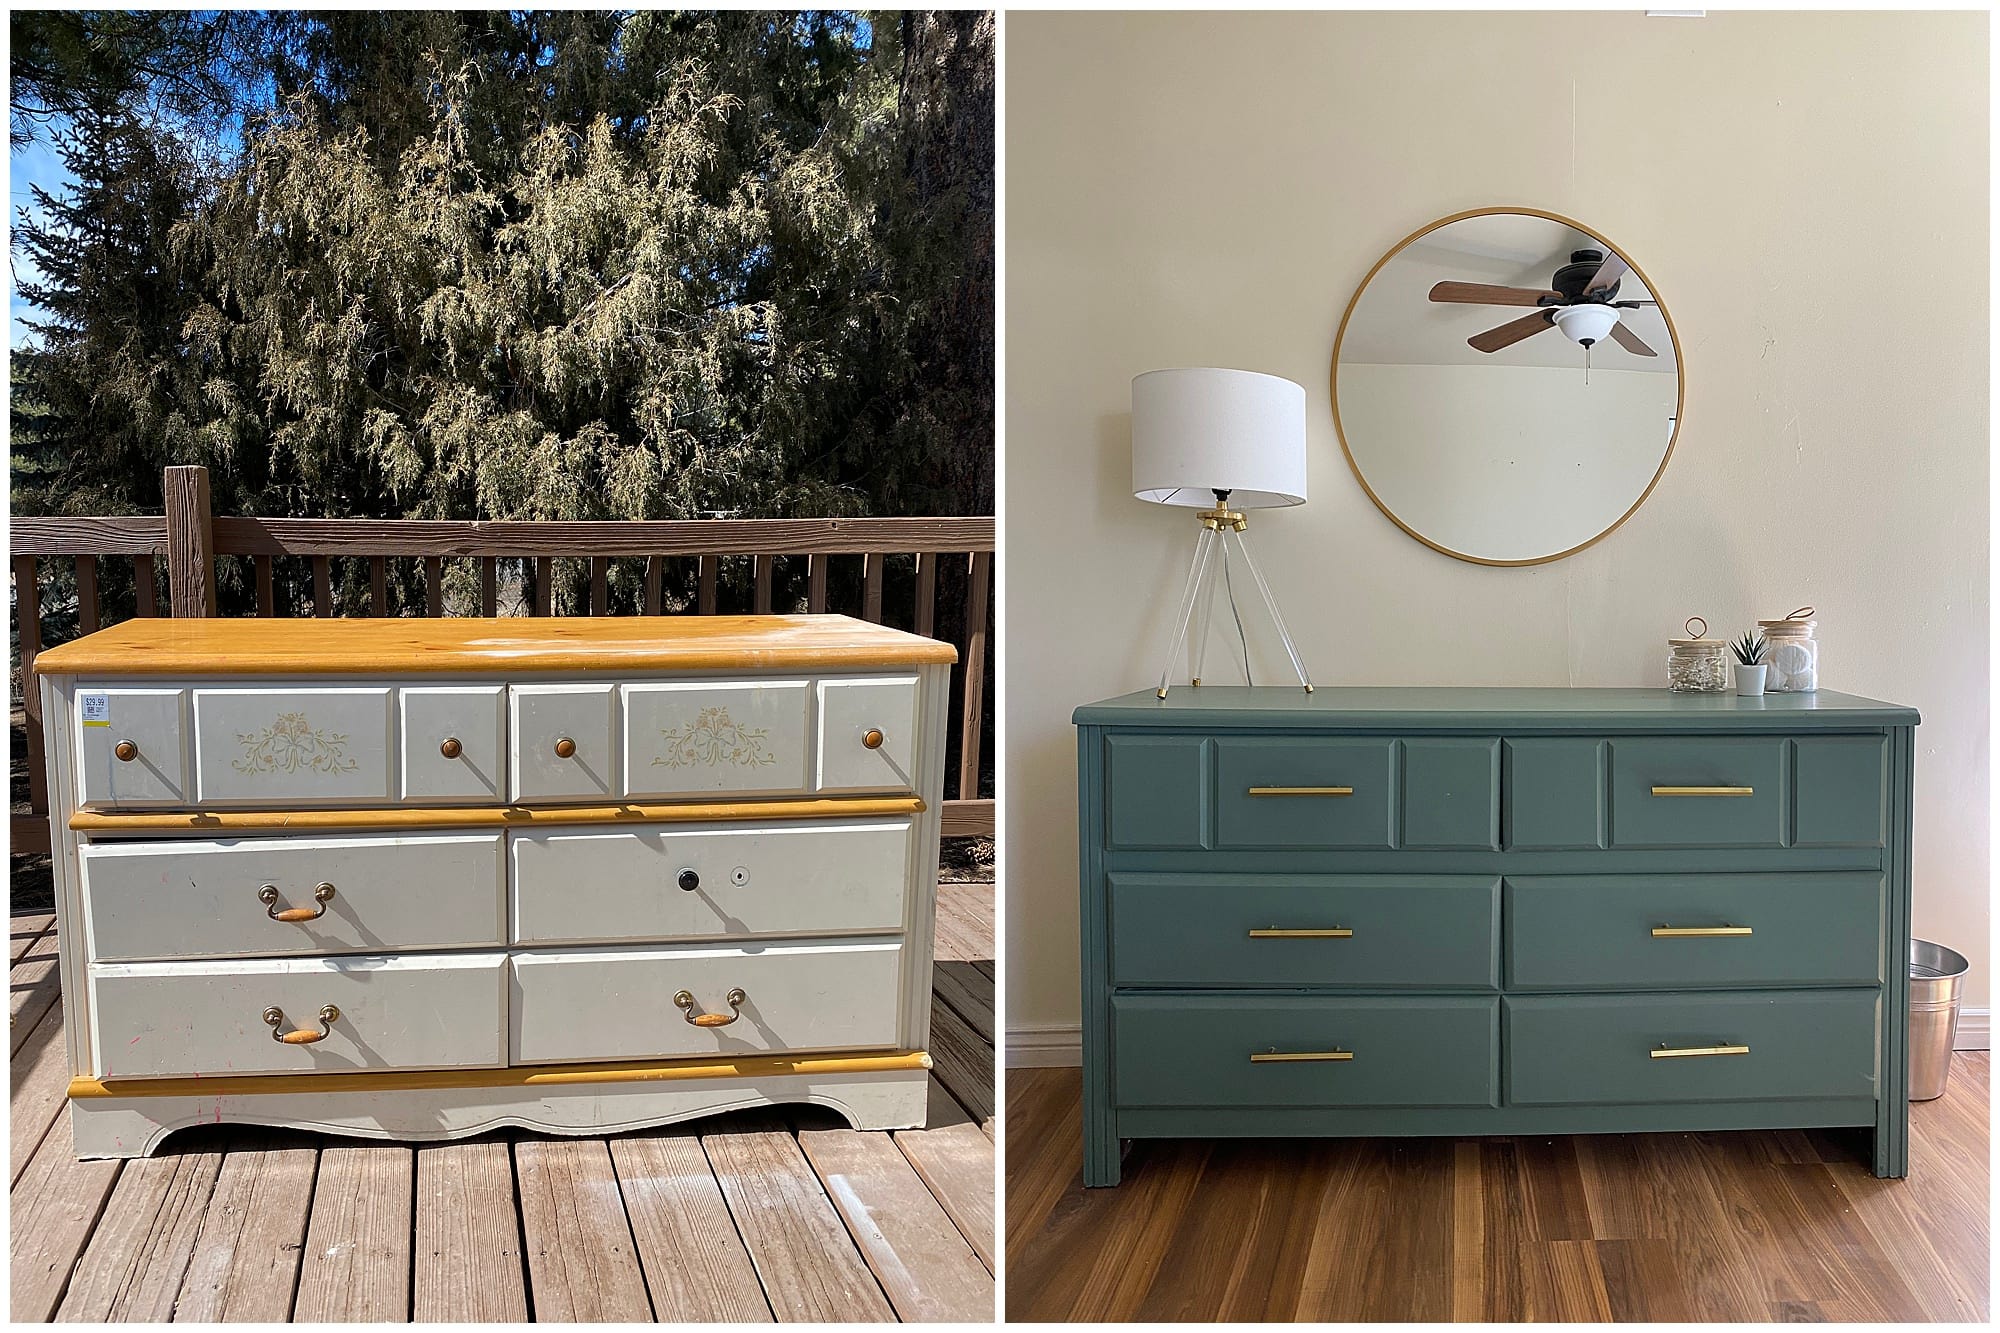
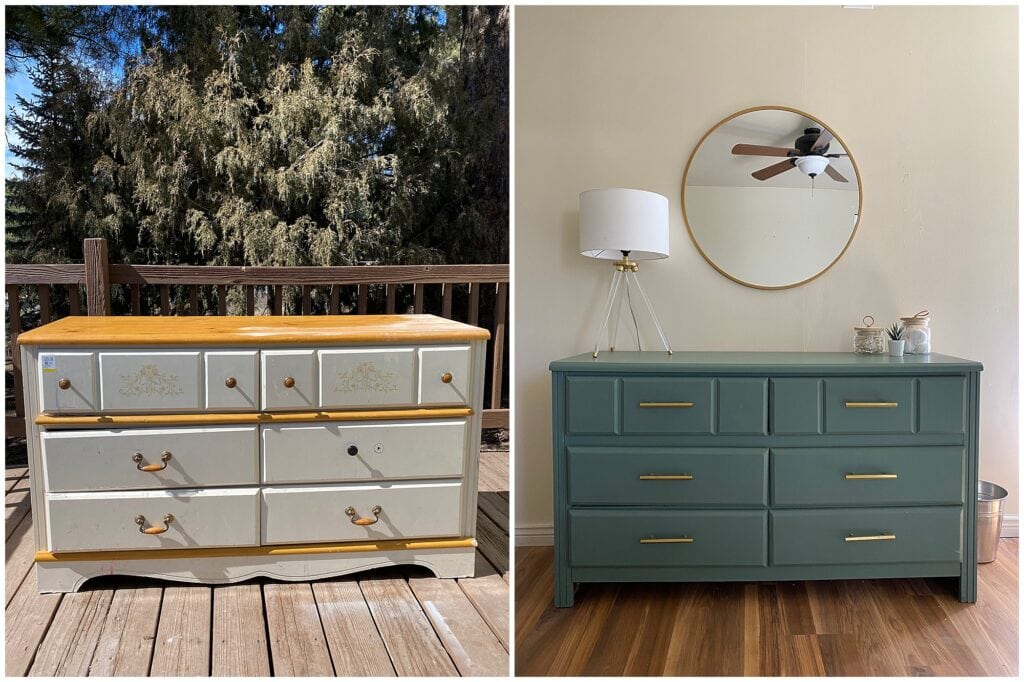
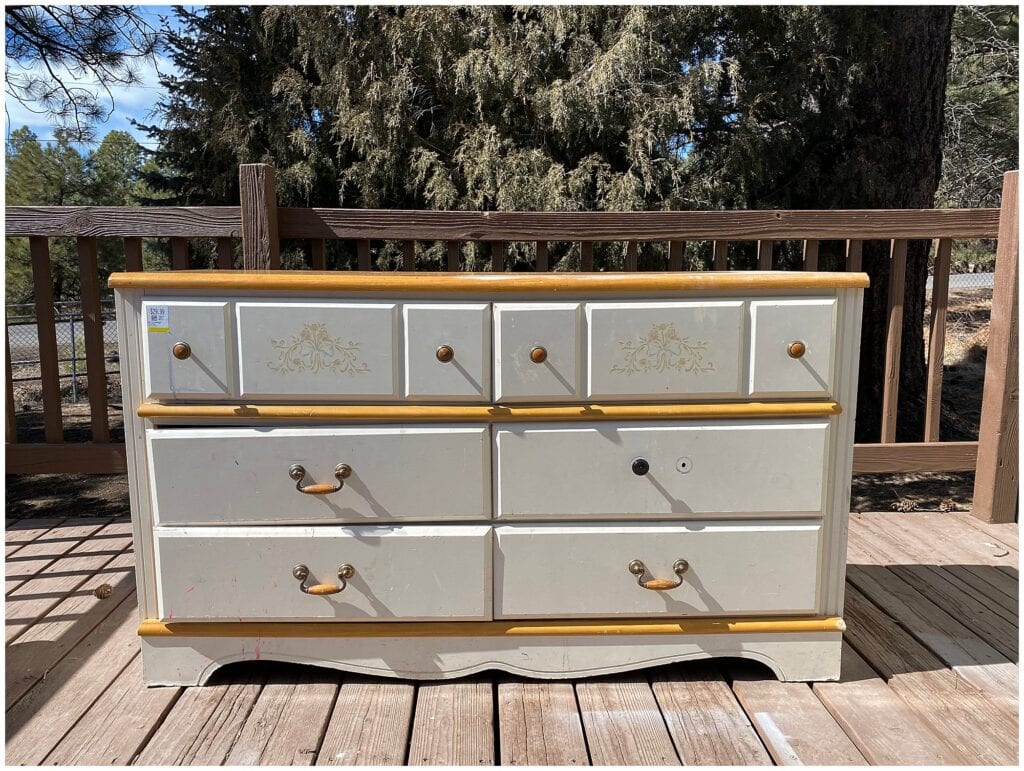
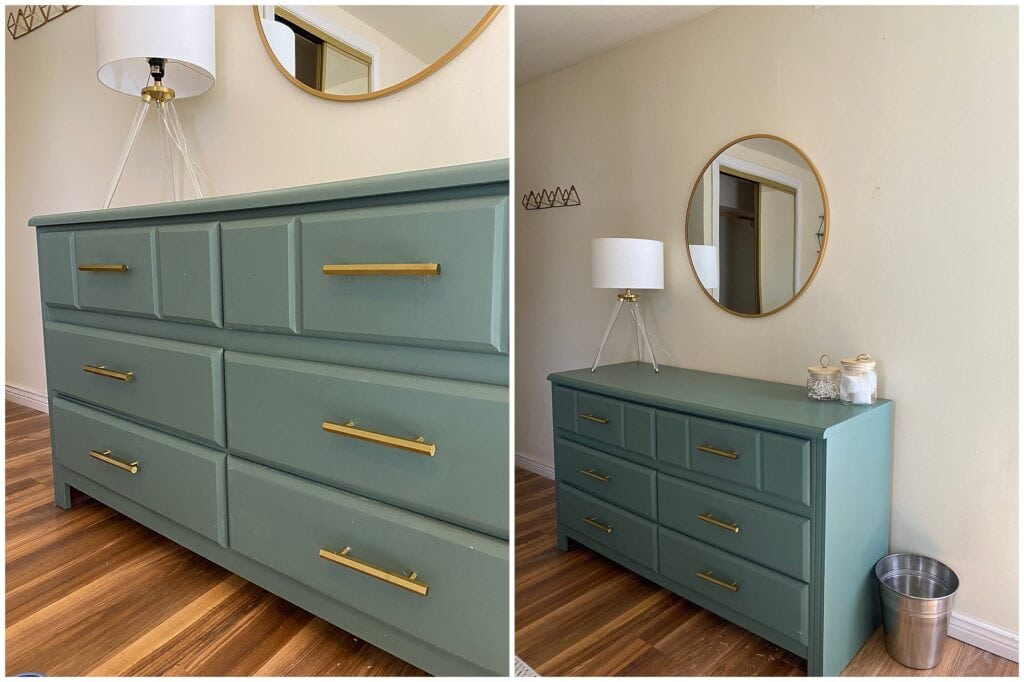
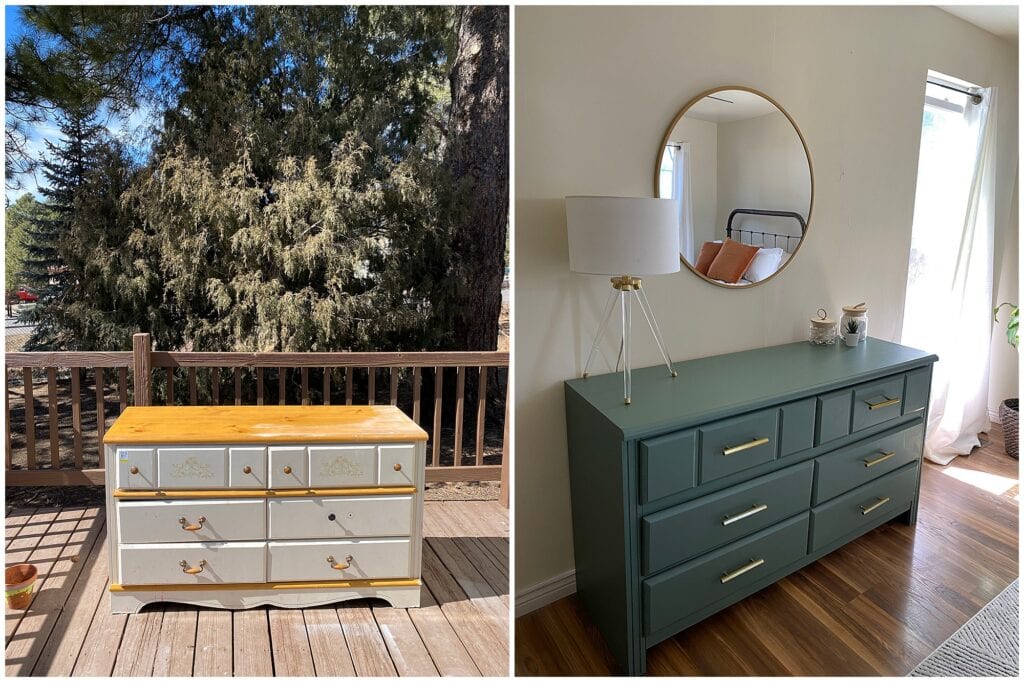
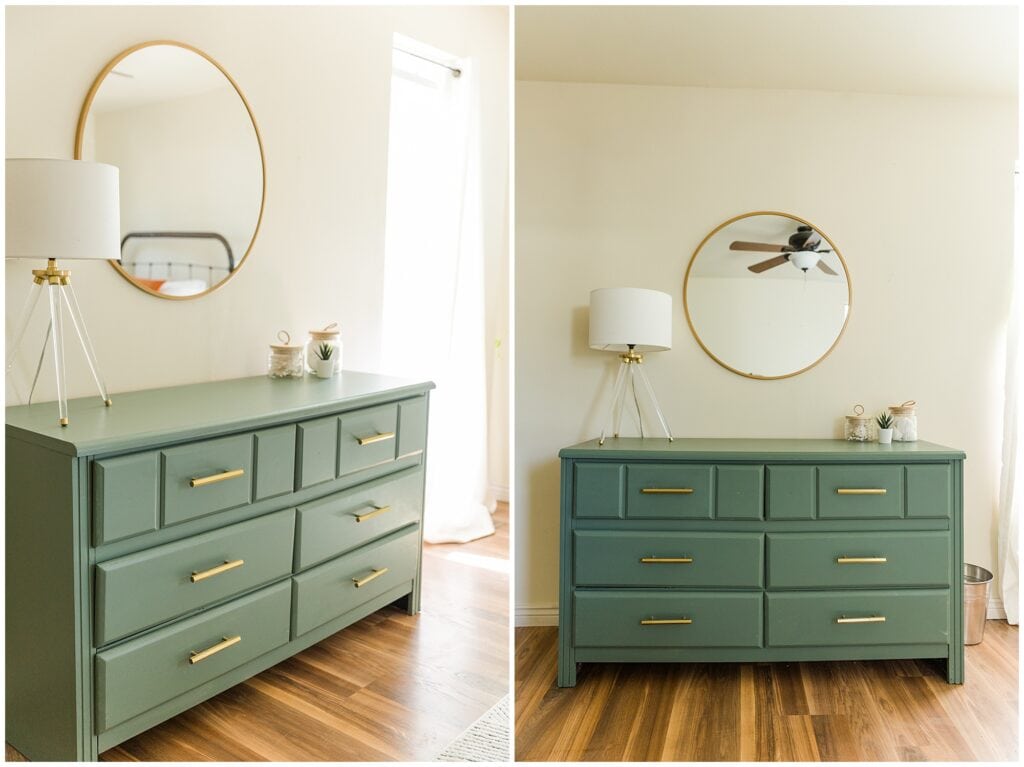
One day I was strolling through Savers (which is like a Goodwill) when I stumbled upon this $15 dresser that was nothing special…but I saw something special in it! I knew I could refurbish it into something magical. With just a little paint and new hardware I made a beautiful new dresser come back to life!!
TIME: 5 or less hours
COST: $95
- Dresser- $15
- Paint-$15
- BB Frosch-$10
- Brush-$12
- WAX-$9
- HARDWARE-$34
STEPS to redo old furniture:
- REMOVE– all hardware. This piece was fallllling apart so I knew I was going to need new hardware.
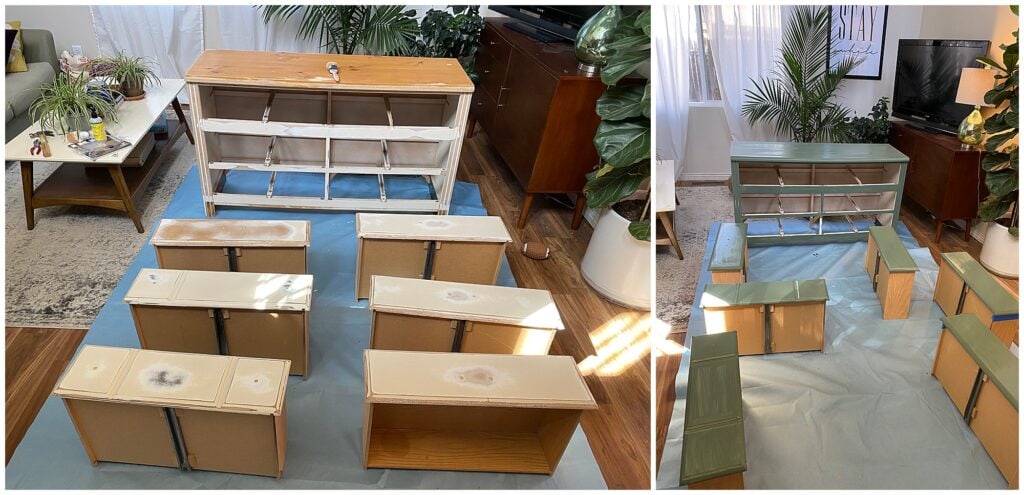
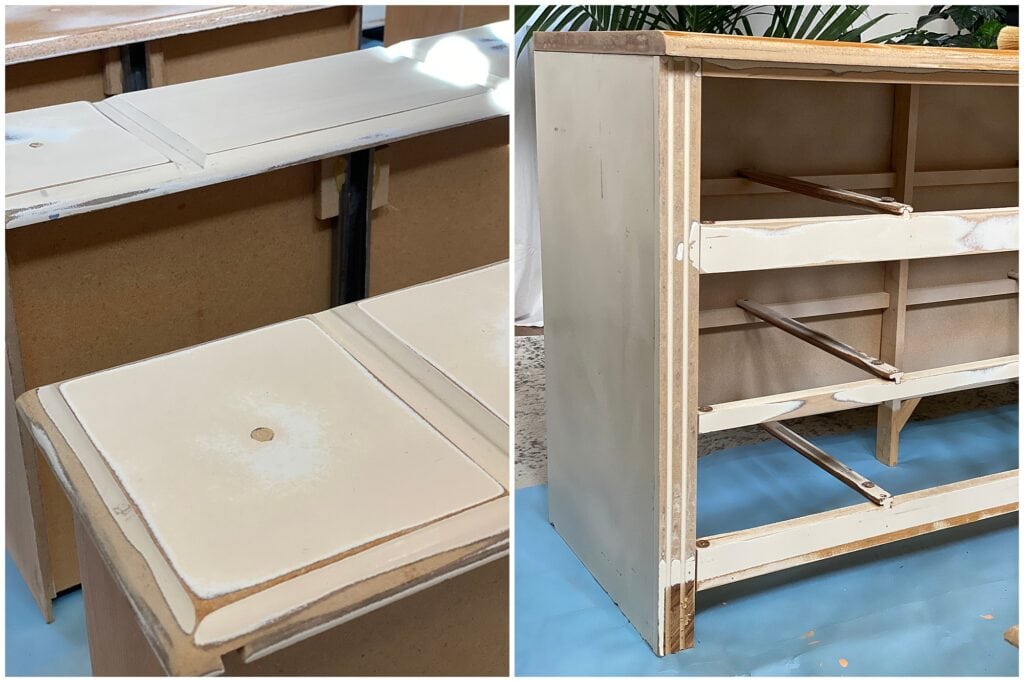
- SAND– I sanded lightly over the whole dresser with 180 grit sand paper and an orbital sander. I wanted to get the “shine” off the entire piece. Some places were more sanded down than others.
- FILL IN– I filled in the holes where the original hardware screws were because I had found some new ones that were slightly larger! I filled it in with wood filler- let it sit for 24 hours.
- NEW HARDWARE-I found new gold hardware at Home Goods for only $34!!
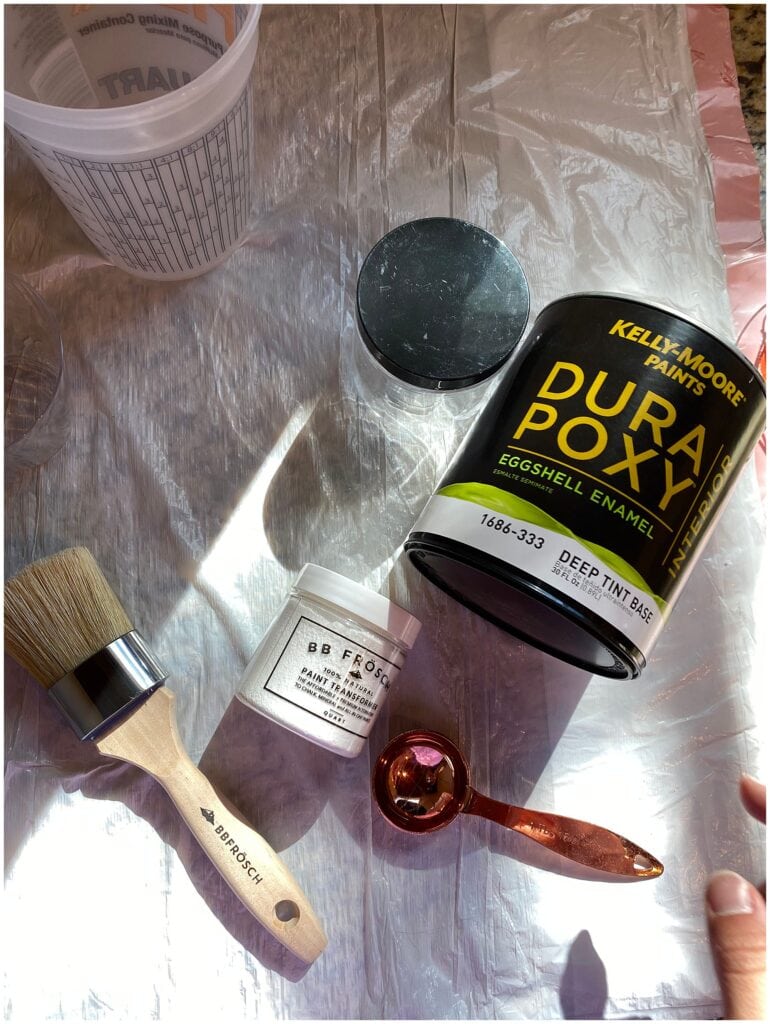
- PAINT– I decided on Enchanted Forest which was most similar to Joanna Gain’s color of the year- Luxe. Kelly Moore paint from a local shop.
- BB Frosch paint transformer! This stuff is amazing!! I found it on instagram and was sold. For only $10 I got this and a fun new painting brush for furniture. I took two tablespoons and mixed it with my paint really well! It acts like chalk paint where it stick to any surface!
- GLOW UP!- I did two coats and let them drive in the living room on a paint dryer.
- WAX– I sealed it with wax
- DRILLED– new holes for the hardware and done!! SO SIMPLE!
