
Step by Step guide on how to make your families yearbook
I remember in middle school getting the yearbook on the last day of school. It was the highlight and something to look forward to. All my friends brought different colored sharpies to write fair well notes in the back of everyones yearbook or hearts next to our perfectly acned awkward posed faces. Yearbooks hold visual memories I long forgotten but through photographs I can reminisce on. Family yearbooks create legacy and documented history through a visual format.
When I go home to visit my parents in Ohio, I still flip back through the photo albums my mom put together throughout the years. I wanted to create a system at a young age of how I was going to display my images that would ensure to create a family legacy once I started having kids in the future. I hold photographs dear to my heart and value them. This is why I’ve created a yearbook every year of my 20’s in different forms so I can look back on my trips, friends, and family events. As you know I am VERY passionate about getting photos off your phone and onto printed pages. I wrote a blog a few months ago describing What to do with your photos now?, where I offer ideas for prints, canvases, and albums. But this blog will focus heavy on JUST album design and creating a system.
I gain lots of insight from a professional wedding photographer and educator Katelyn James. Her blog + youtube page is filled with more tips and insight onto creating family legacy through photographs. Jump to her page to read more after mine tips if you really want to get into creating a system!!
STEP 1. Organizing
Decide HOW you are going to organize your photos. This starts at the very beginning before you even think about creating a yearbook. If your photos are not organized you will feel very overwhelmed and most likely be paralyzed by the thought of creating a whole yearbook. So first and foremost organize your photos. This is the layout that I use:
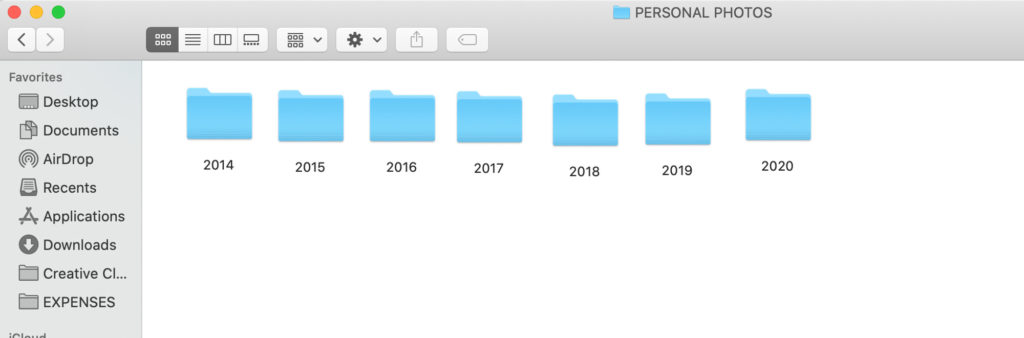
1.Buy a family hard drive- where all your photographs are not only on the cloud but also on a hard drive off your phone and computer. I think it’s best to have multiple locations with your images backed on. Locations like: icloud, desktop, and separate hard drive.
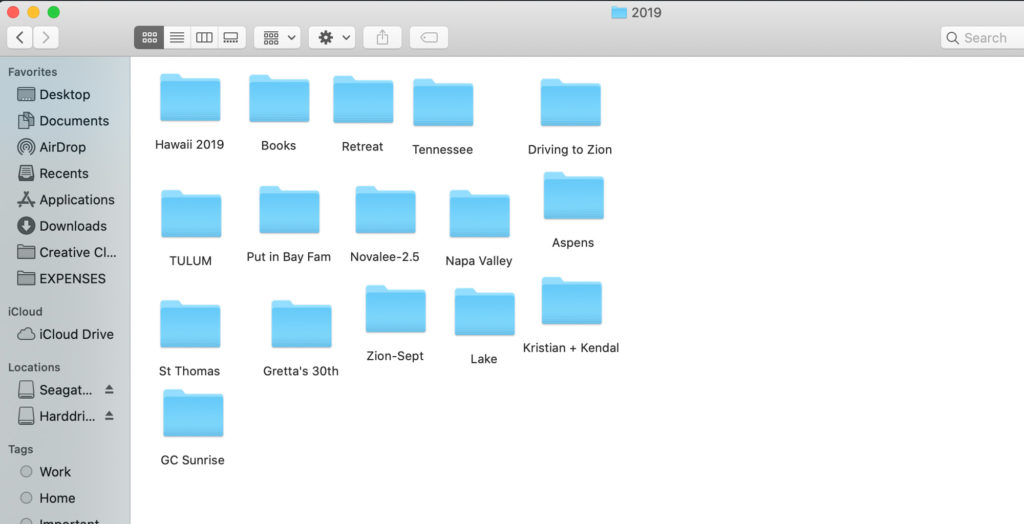
2. Pull all your photos off your phone, DSLR camera, professional photographs to separate folders on your hard drive sorted first by year + month. Example: 2019, January
3.Within each month folder, organize them by EVENT. Example: Lake trip, vacation, family BBQ. This will ensure easy when finding photographs because you know where the photo was taken so if you can organize it by event it won’t be a headache when you go to pull photos out.
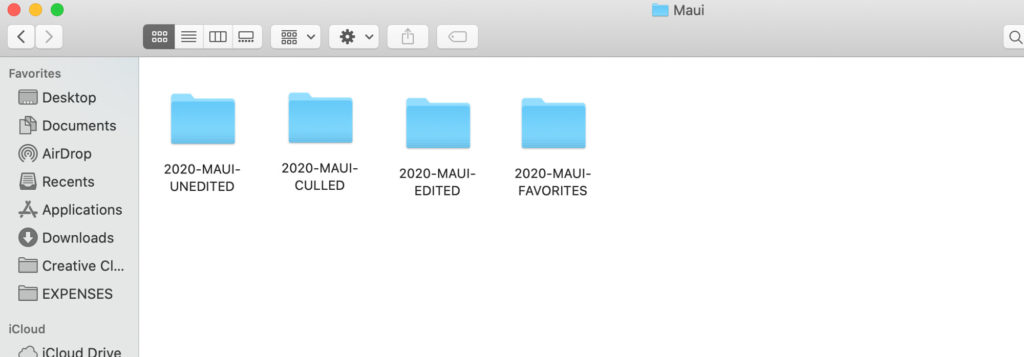
4.If you want to get fancy: organized in the photos in each event folder by: Unedited, Culled, Edited, Favorites. This goes more into professional system for organizing photographs that I do for my weddings and shoots. It makes it REALLY clear and straight forward.
5.If edited photographs- Export files to be named: Year, Month, Description.
STEP 2. CHOOSING PHOTOS
This the most important part to creating a visual format story of your family. This is where your story telling will be illuminated. No one gets to tell you what goes in your book and what doesn’t. Have fun with this part!! What I would do is take a night, with a glass of wine, good music and focus in for an hour on choosing ALL the photos you want to go in your yearbook. I do this in January of every year. After the holidays when things have slowed down and not much to do. This is what I do:
- 1. Start in January of the following year. Go through each event and drag those photos (make a copy of them on your desktop) to a separate folder labeled inside January Events. Everyone is different in this way. I like to go in chronological order of the year. Do this by each month so they still stay organized and not all over the place when you go back to design your album.
- 2. Remember to choose only the photos that bring you the MOST JOY and tell the event the best. I wouldn’t be too concerned with pulled multiple of the same photo. But think about when we use to shoot film- we only have a FEW images not 1000000. So the culling down process (sorting through images to find what is best) will cut your decision making process in half. This is good to do once a month on your iPhone or hard drive so you don’t get overwhelmed by the amount of images.
- 3. Enjoy this time. Don’t get stressed. If it takes you a few nights, let it. Put a movie on to sort through photos. Once they are ALL in a separate folder labeled “2019 YEARBOOK” sorted by each month you can now start to decide what type of album you want to make and from where! This is the FUN part!
3. WHERE TO PRINT
I love to print my images. It brings them to life! I want you to remember you are doing this whole process for a reason. Whether your reason is to start a family legacy your daughter can visually enjoy growing up , or have it set on your coffee table for your guests to flip through when they come over for dinner, this is an important needed task to undertake!! Remember it’s worth investing your money and time into for your family to look back on over the years and even your grandchildren to see once you have long passed. These will be passed down through the generations.
I have MANY different great printers I go through. Here are a list of my favorites. All have different costs, pages, quality, and sizes. I’ll share what I do but offer advice for different options:
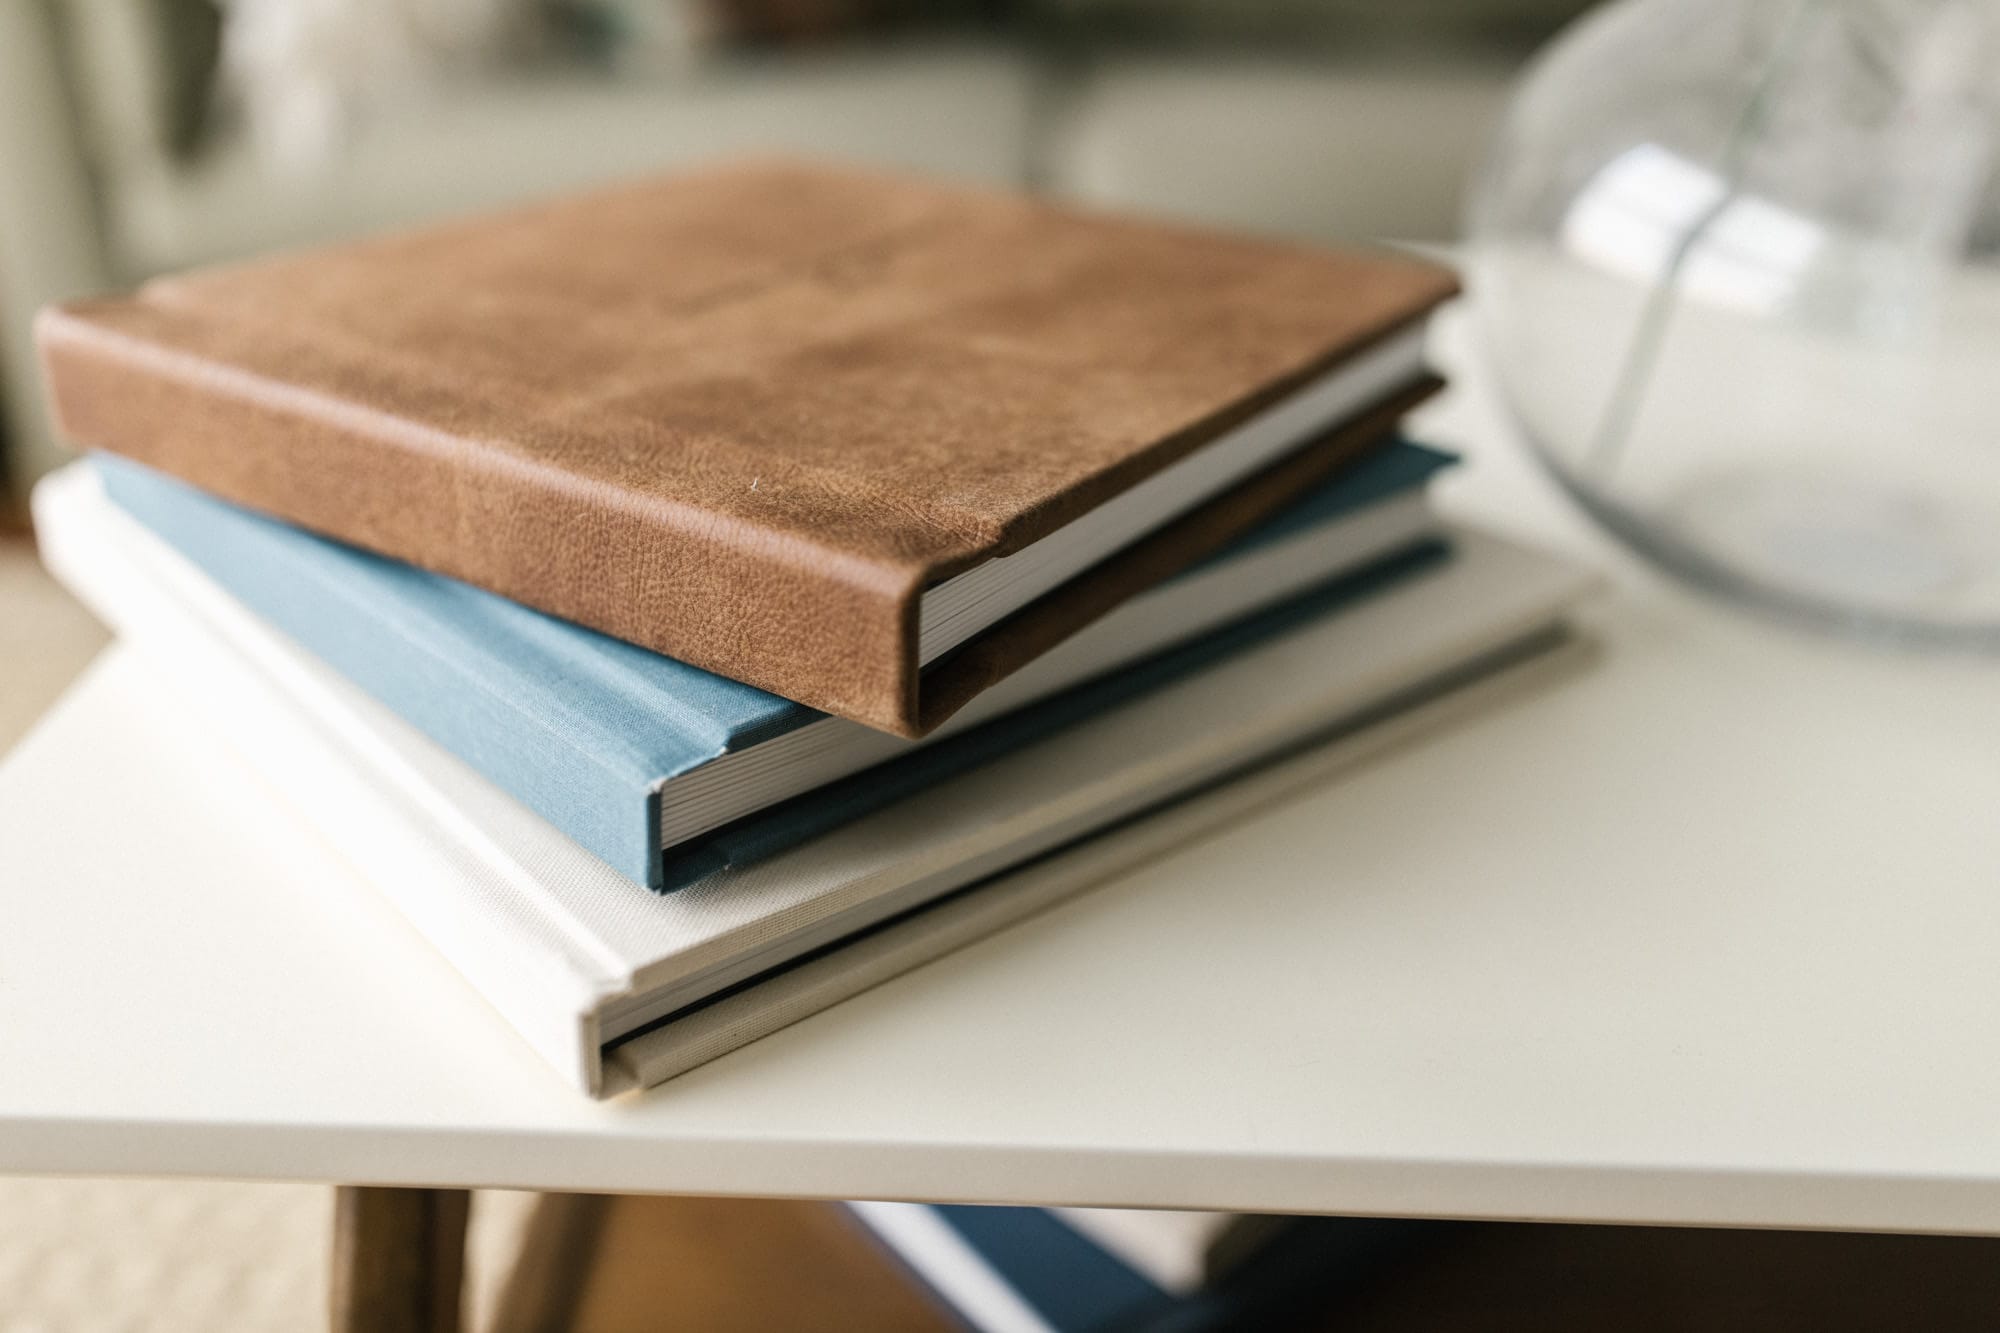
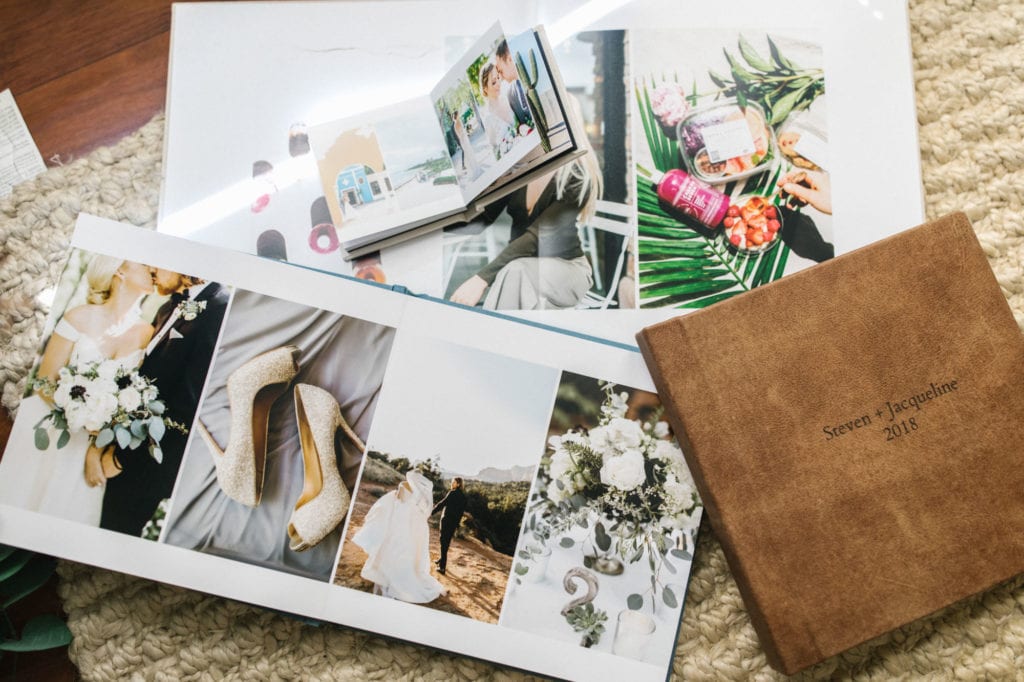
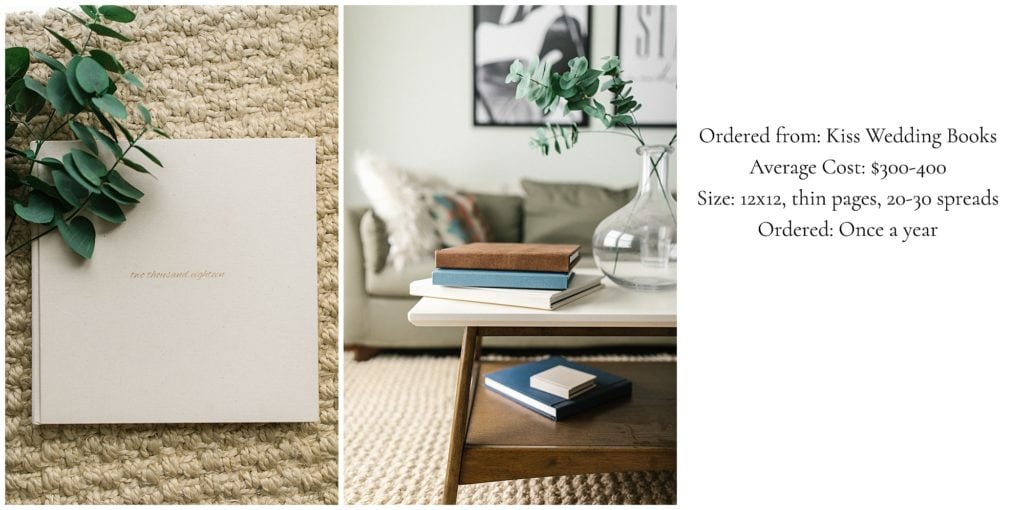
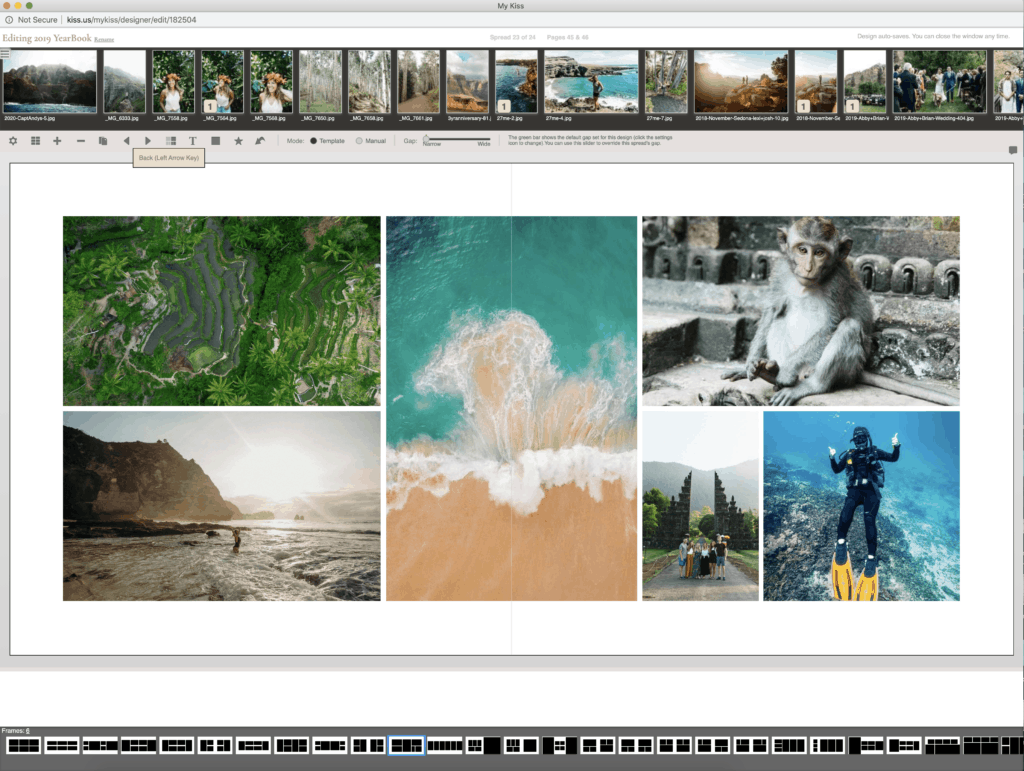
1.KISS BOOKS: $$$$$
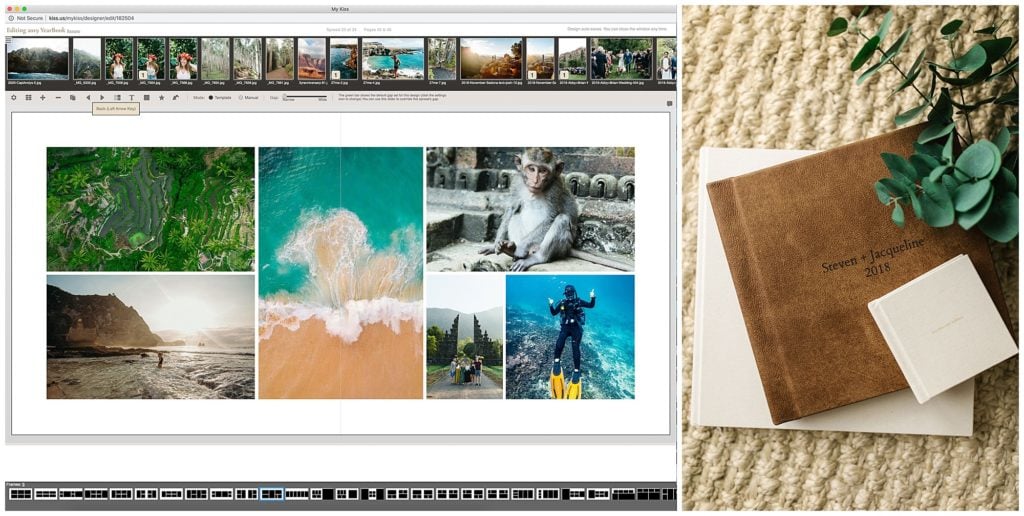
These are hand crafted heirloom, leather or linen covered albums. They are quality and will last for generations! If you are one of my clients and have an online gallery- Kiss is connected to the online printers. You can design and layout a kiss album and have it shipped directly to your house! These are my VERY FAVORITES.
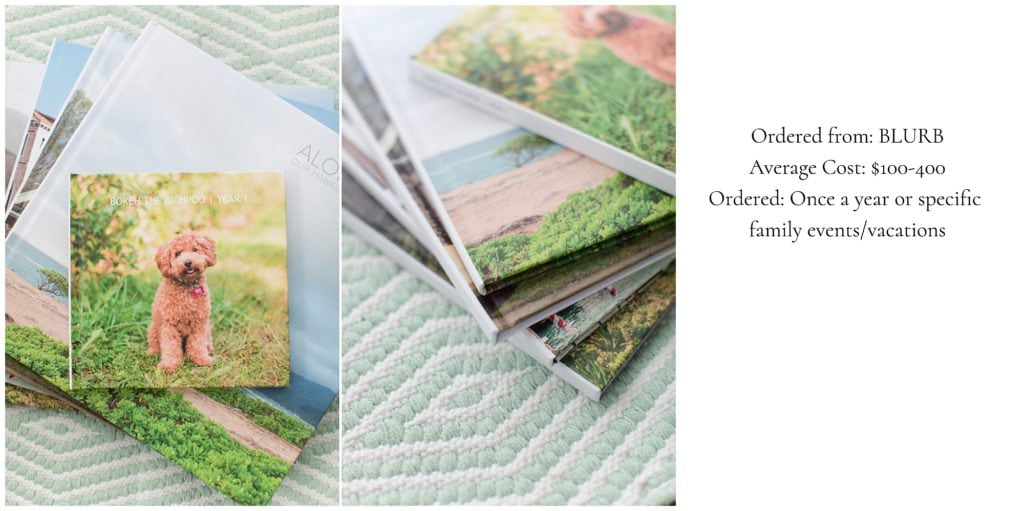
2.BLURB BOOKS: $$-$$$$
These are quality printers that offer a wide variety of sizes, covers, and pages. Anywhere from small 7×7 square to 13×11 size books. I am always impressed and amazed at their quality. This is what Katelyn James uses for her book Yearbooks. You have the option of a printed cover over linen or leather.
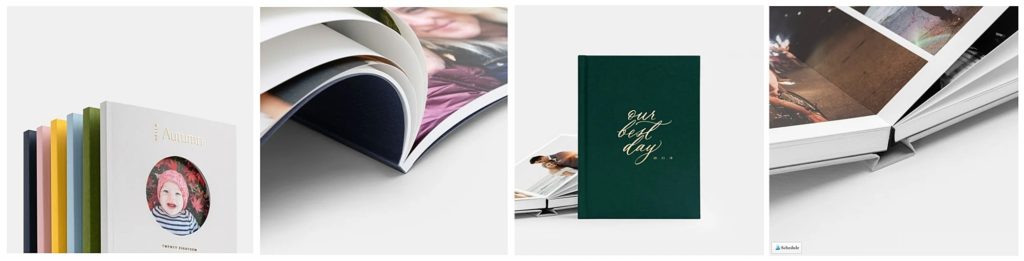
3.ARTIFACT UPRISING: $$-$$$
Love love love Artifact. What they offer really well is: trendy design, minimalistic qualities, matt paper. They are a good middle ground. I trust their printing and quality of designs. This is a great option to create little albums if you don’t want to do a big one. With their easy to use online layout design, you can create a quick family album in one night or a couple times a year after certain events to create a whole gallery on your self!
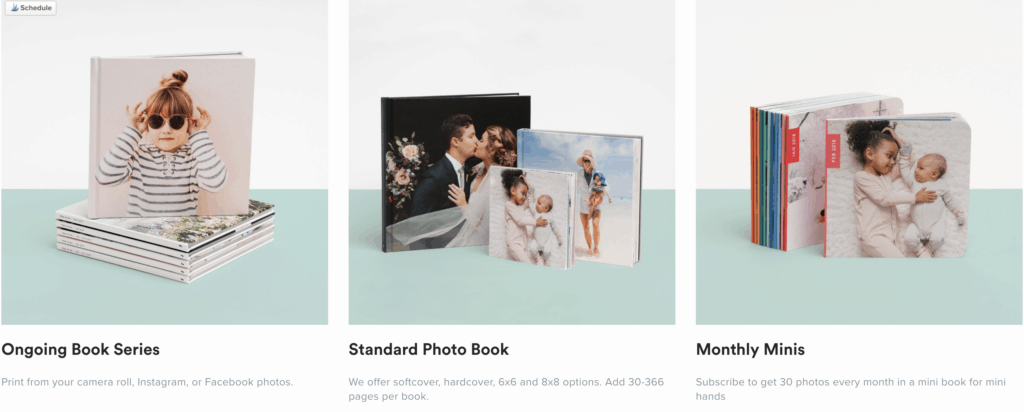
4.CHATBOOKS- $
Chatbooks offer continual albums all year long that is shipped directly to your house once a book is filled (60pages) for ONLY $10!!! It’s a subscription based album that is connected to your instagram feed. They pull photos from instagram that you post on your page and prints them in these books. My mom friends who get these say their kids LOVE looking at them every month when they come in and regularly go back to them. They are small square books that ensure your family with constantly have updated printed photos from your phone to your tables.
4.LAYOUT + DESIGN
Now that you have chosen a printer they will take you through their online design layout system. Most of them are really straight forward. Here are things to consider when designing:
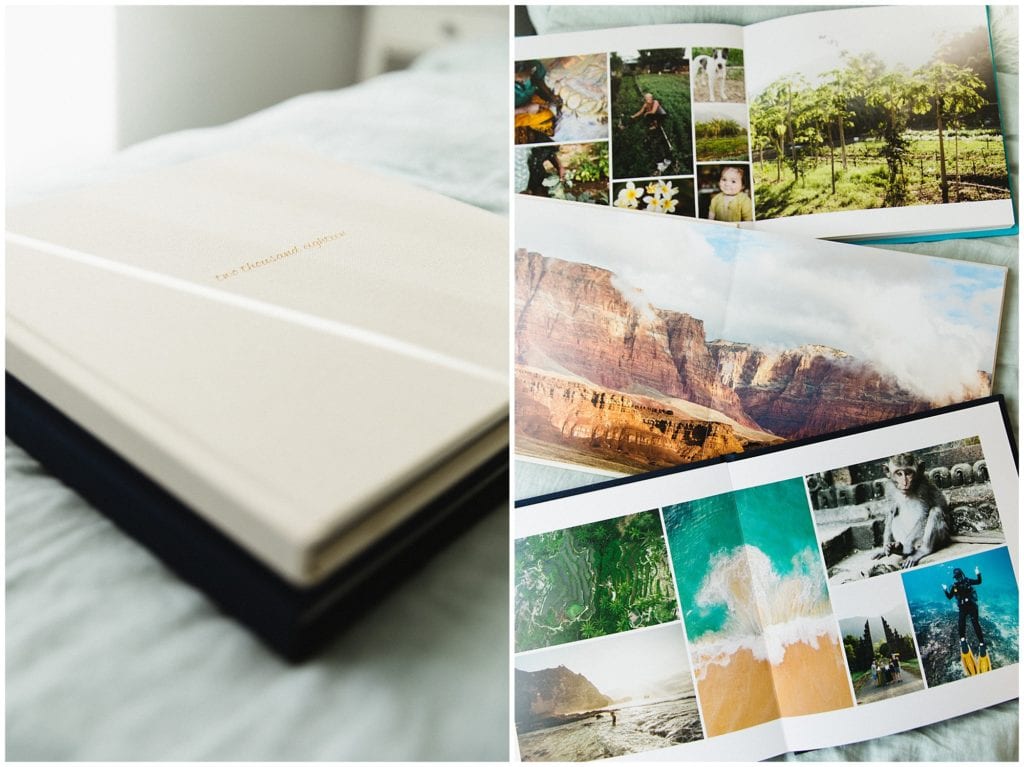
1.Choosing a cover- Do you want just linen or leather? think about the colors you want to add to your collections through out the years so they all look good together. Do you want an image to be on the main cover? What photo describes your year best? Do you want just words? Each year I only have written cursive debossed words on my covers like “two thousand and nineteen”
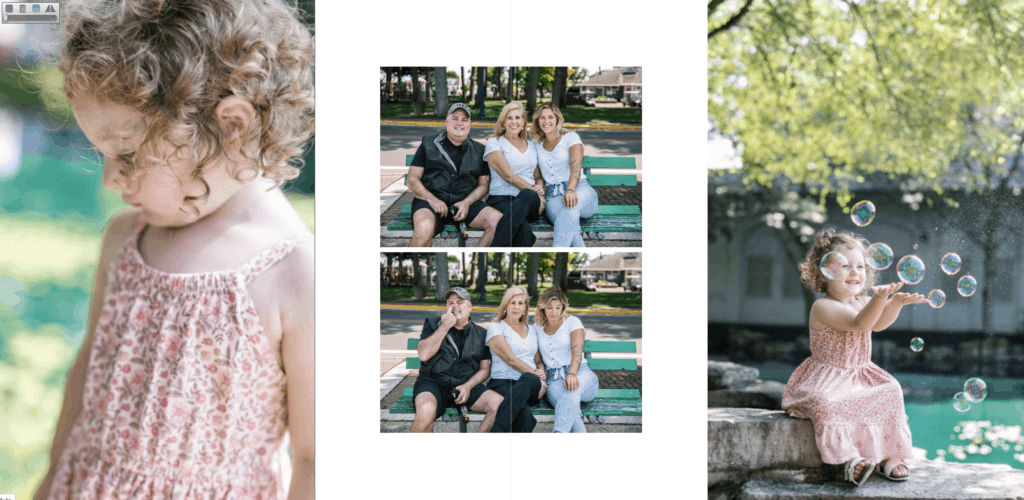
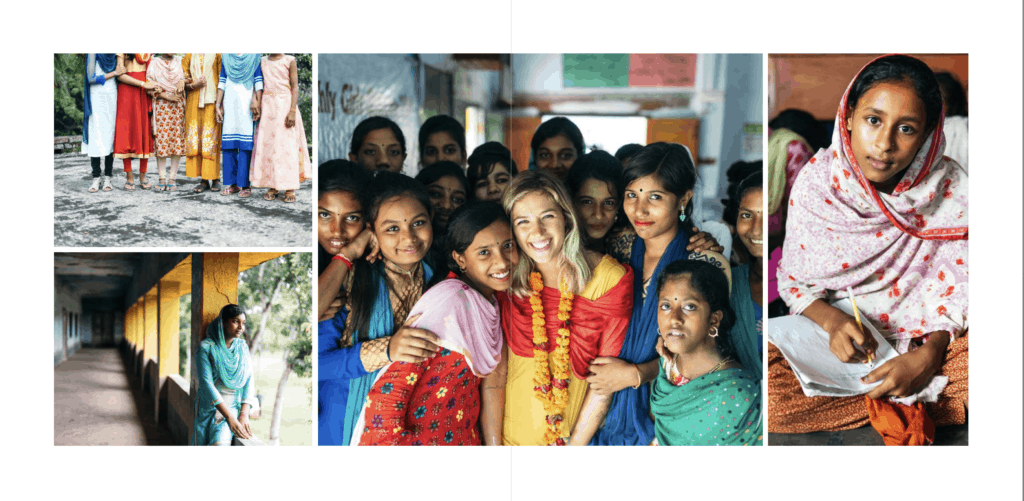
2.Design layouts- Remember quality over quantity here. You don’t want to overwhelm the eye. This is why I do not suggest shutter fly or Walmart printers, not only because their printers are not high quality but because their layouts are overwhelming. This is not a scrapbook, it’s a yearbook! So remember when designing the more pages the better rather than trying to stuff ALL photos from one event on one page. In art school I was taught that the eye needs space to breath when you are looking at a piece. On each page remember to create negative white space for areas your eye can take a break to rest on before going on. Here are some design layouts that I like and are visually appealing to filter in:

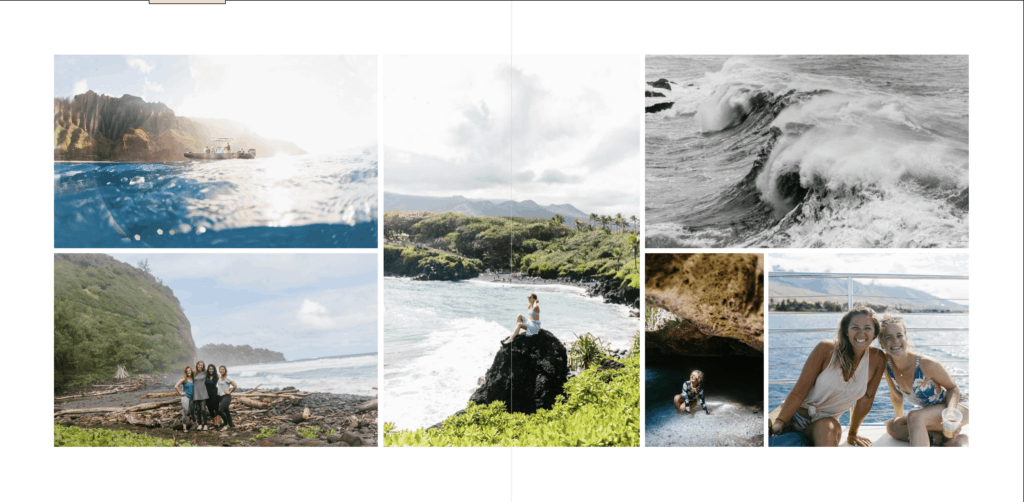


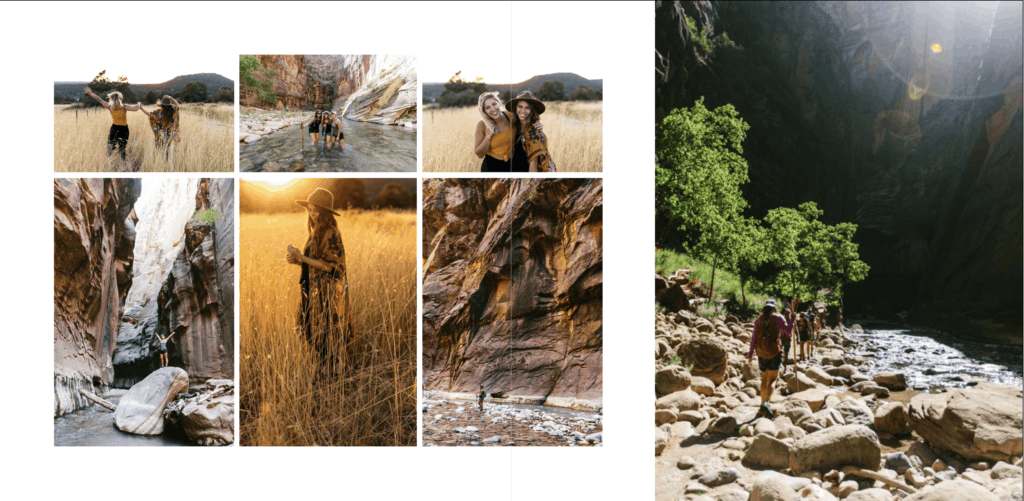
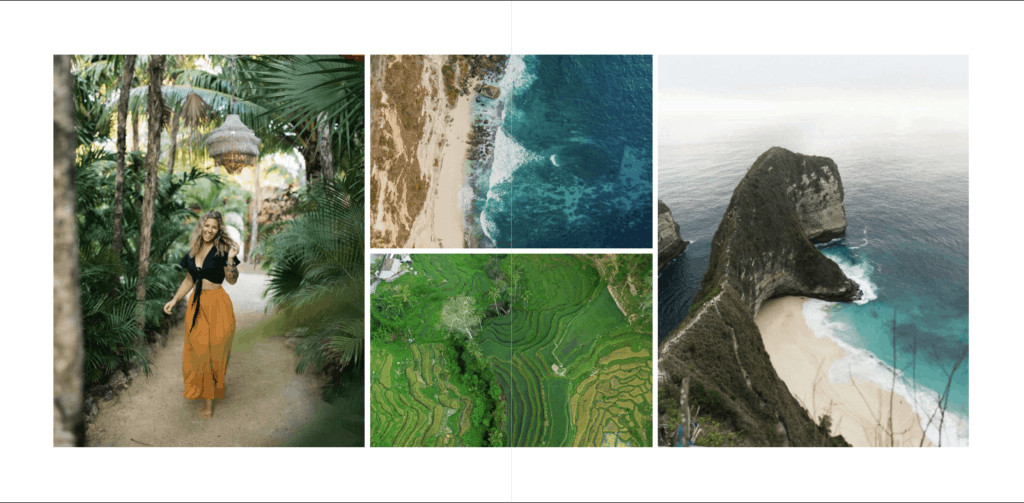
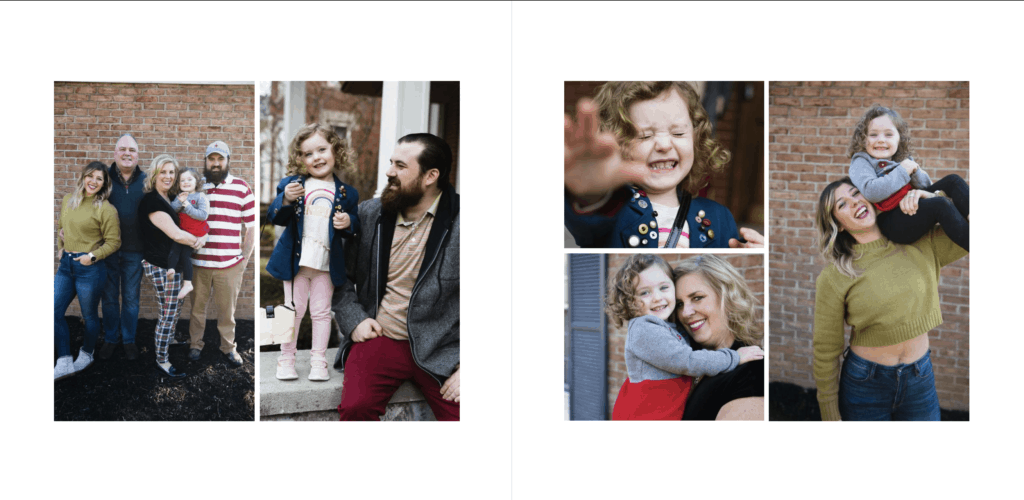
Design layout ideas:
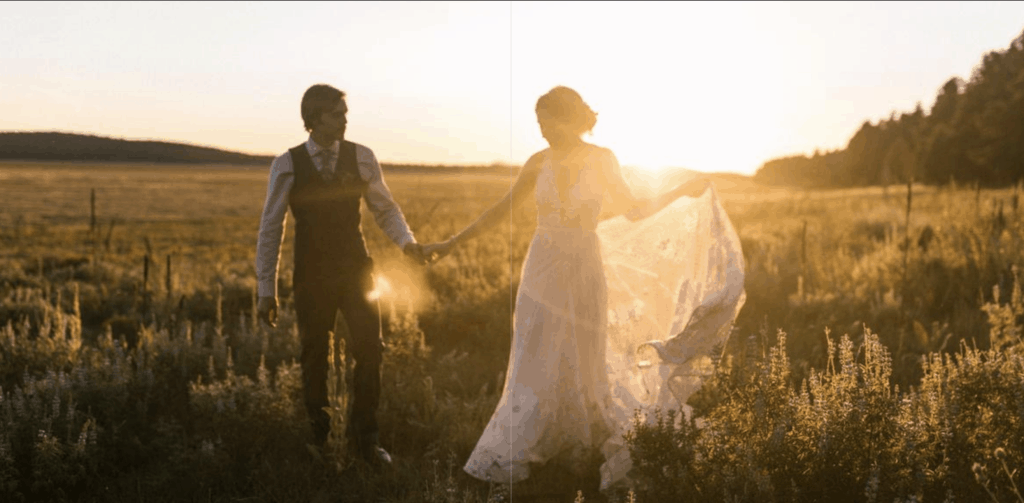
- Full page spreads (this looks really good if you have a horizontal images and want it to make a statement)
- 3 or 4 across vertically that tells a story together with color
- Don’t be afraid to put the seam down the middle of a photo. If it’s a layflat book it won’t matter
- 2 horizontal and 1 vertical
- I wouldn’t put anymore than 7-8 images on a 2 page spread
- Remember you are telling a story- think about color, what happened at the event, and how the image is best viewed (horizontal vs vertical)
3.Upload your photos by month- think about how many spreads you want for each event. I usually do 1-3 spreads for vacations, 1 spread for family gathering, 2-4 on big trips like Hawaii when I’m gone for 2 months. (This is all relative to how many pages you are wanting. I narrow mine down because it’s only me, I don’t have kids)
5. ALWAYS wait on a coupon code
All companies have coupon codes to apply and use. I design mine and wait for a good coupon code to save money and order it! Always be on the lookout. This helps to create deadlines too for yourself or they may never get finished!
Good luck my friends!! This system will ensure years of visual documented history of your family. I promise it’s worth it to create!!
XOXO- Han


