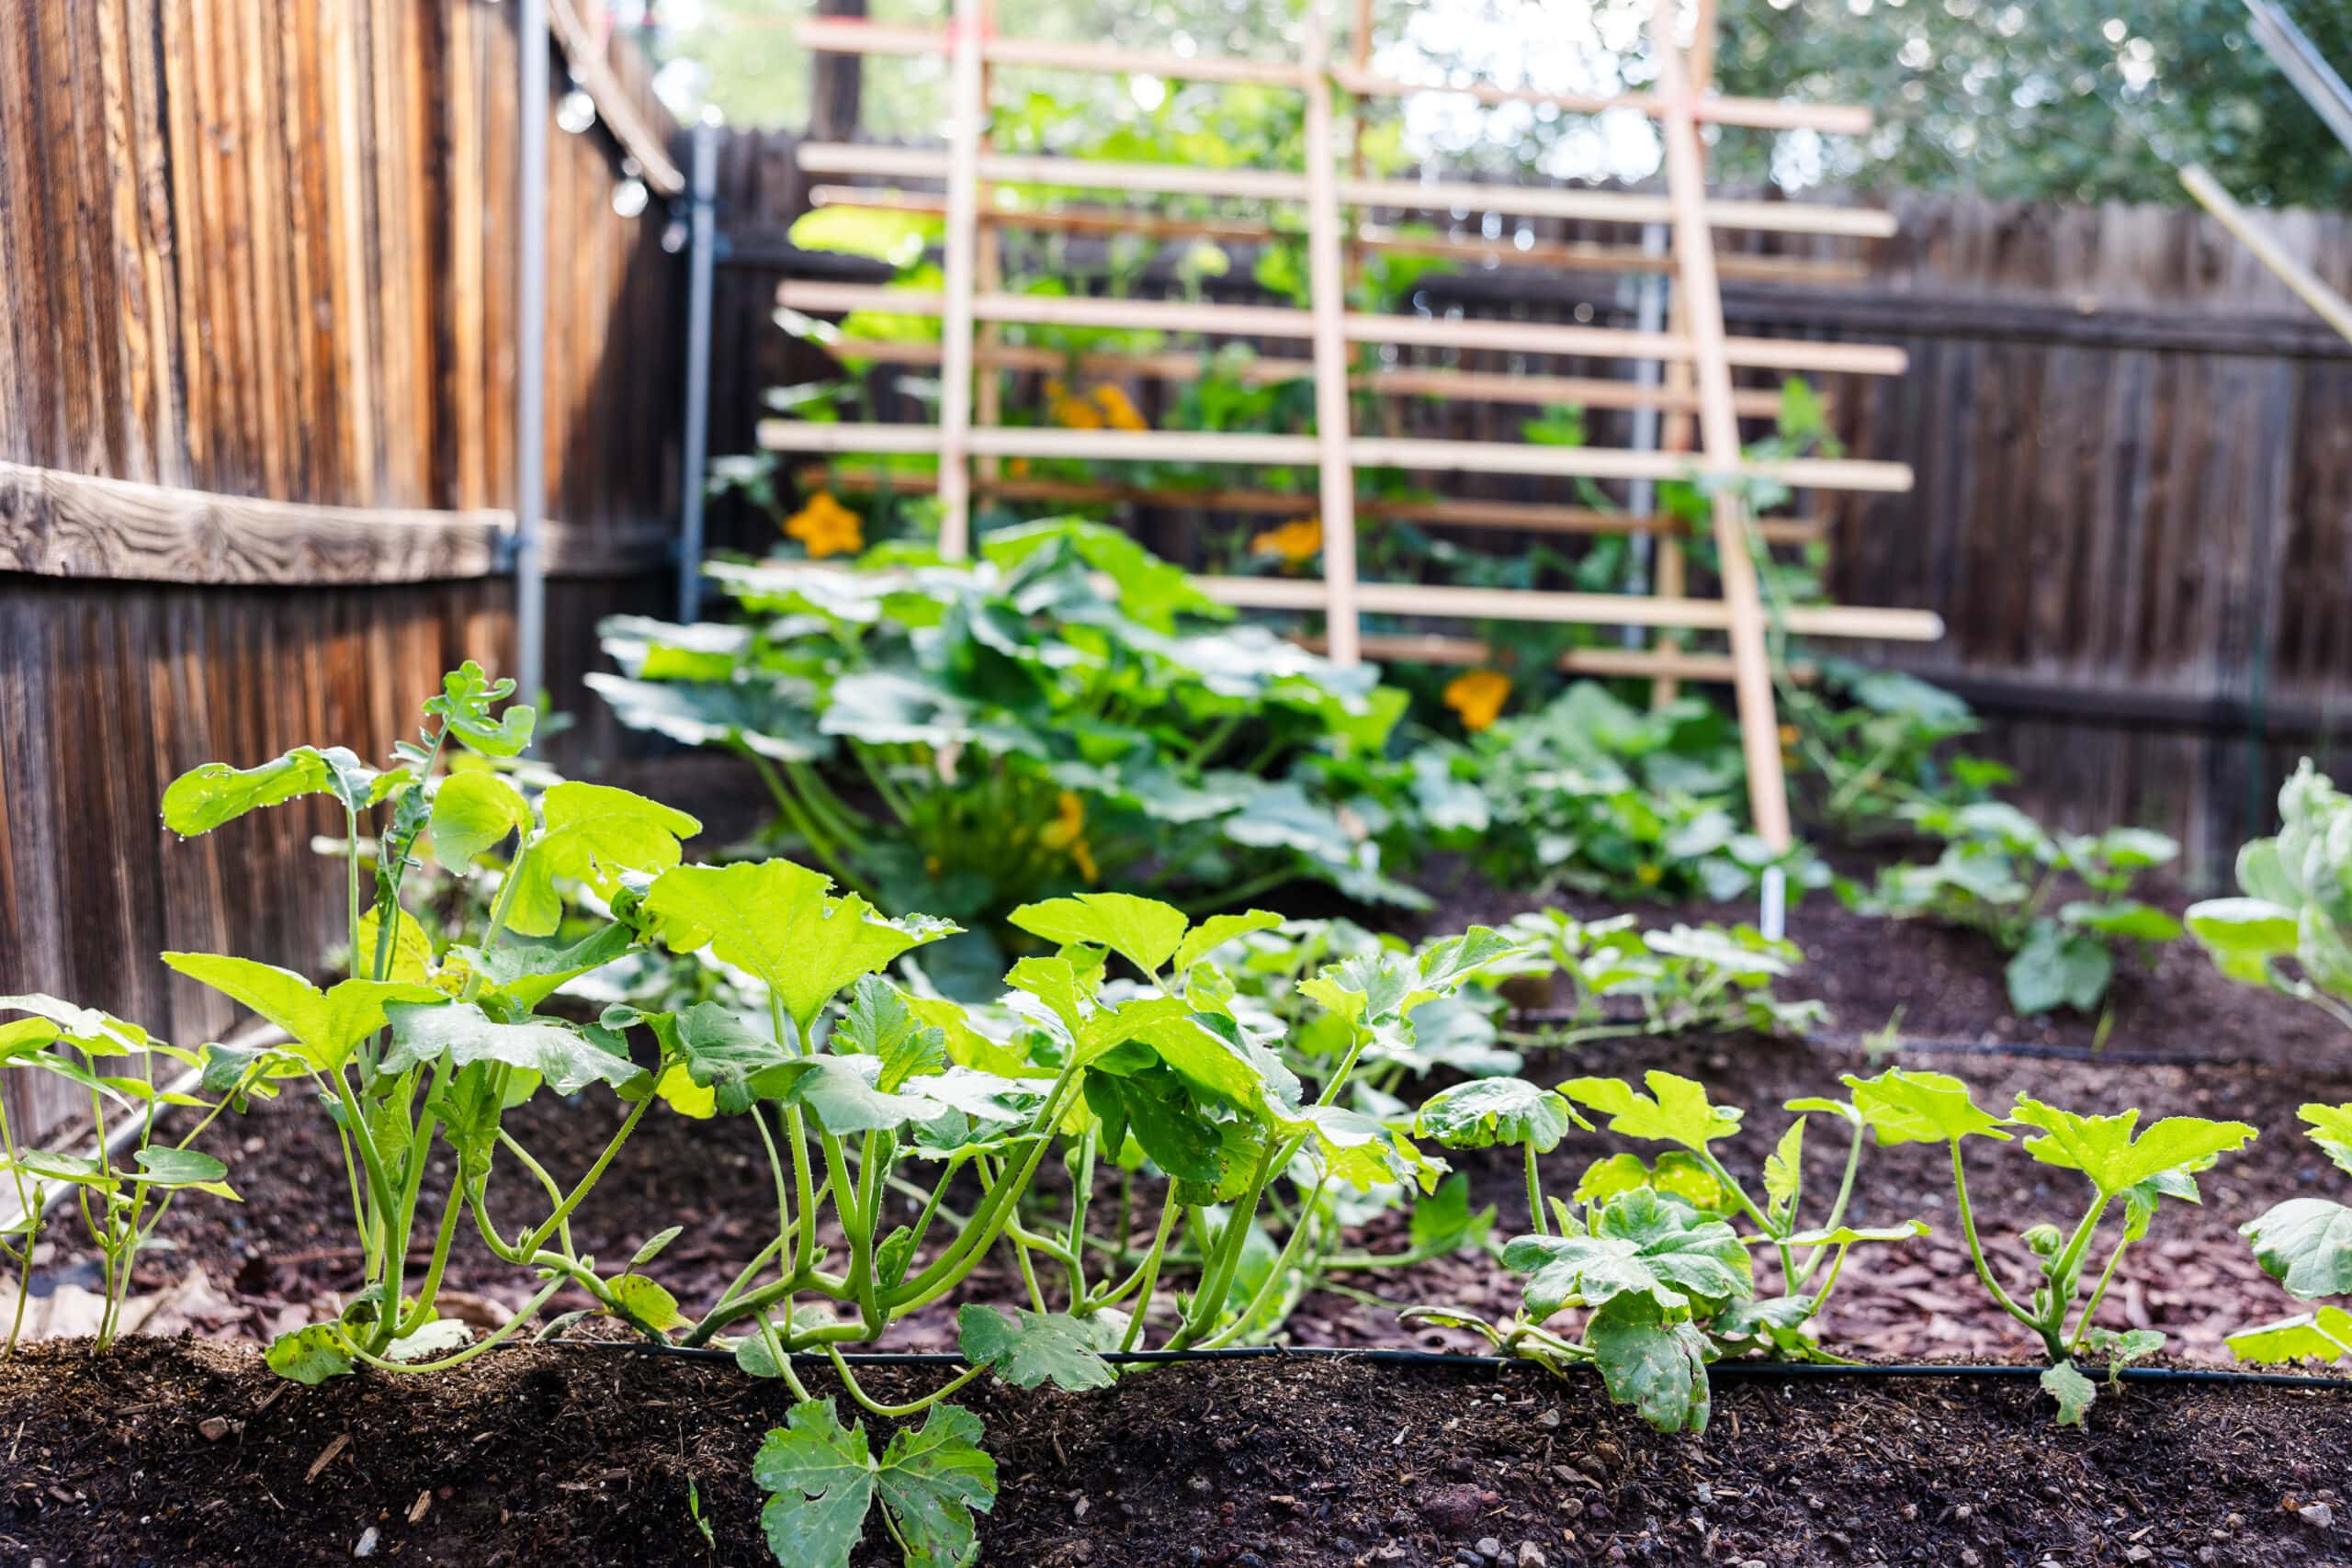
A simple way to start a garden anywhere!
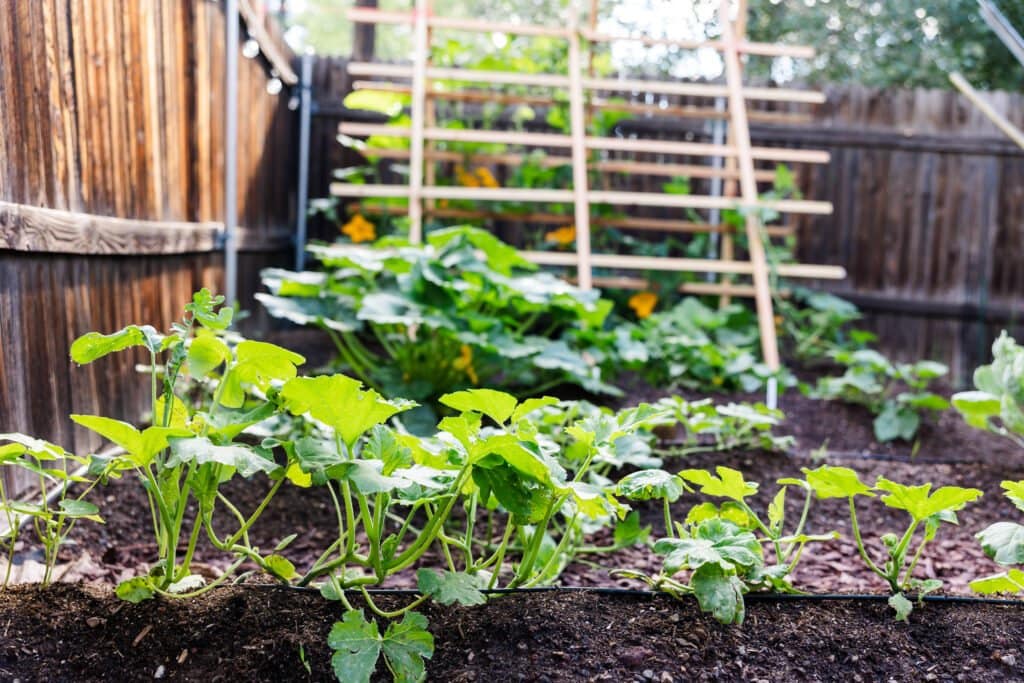
I had been dreaming about starting my own garden for over 10 years after working on a farm in Italy while studying abroad. It opened my eyes to the beauty but also hard work that a garden is. Every Sunday we would go out to the garden (let’s be honest it was a huge working vegetable farm). It was there I fell in love with working in the soil. I grew up watching my mother have a little garden but for whatever reason never helped her. I’m glad she didn’t force me to work but rather I fell in love with the garden in my own way and time. Since then I have worked on multiple organic vegetable farms in Ohio, Hawaii, and Flagstaff picking up ideas and skills along the way. I bought my house two years ago but buying late summer it wasn’t the best time to start a garden. The following year I started a tiny little 4×8 raised bed but knew I had plans for a massive garden if I only would plan in the winter and start in the spring. And that is what we did this year of 2022!!
Now I want to lay out a few simple steps on how to start your own garden. It can be a science but it’s also an art. Let it be whatever you want but remember, it’s one big experiment. So don’t get too sad or down on yourself if something doesn’t grow the way you thought. Keep a journal and take notes for the following years.
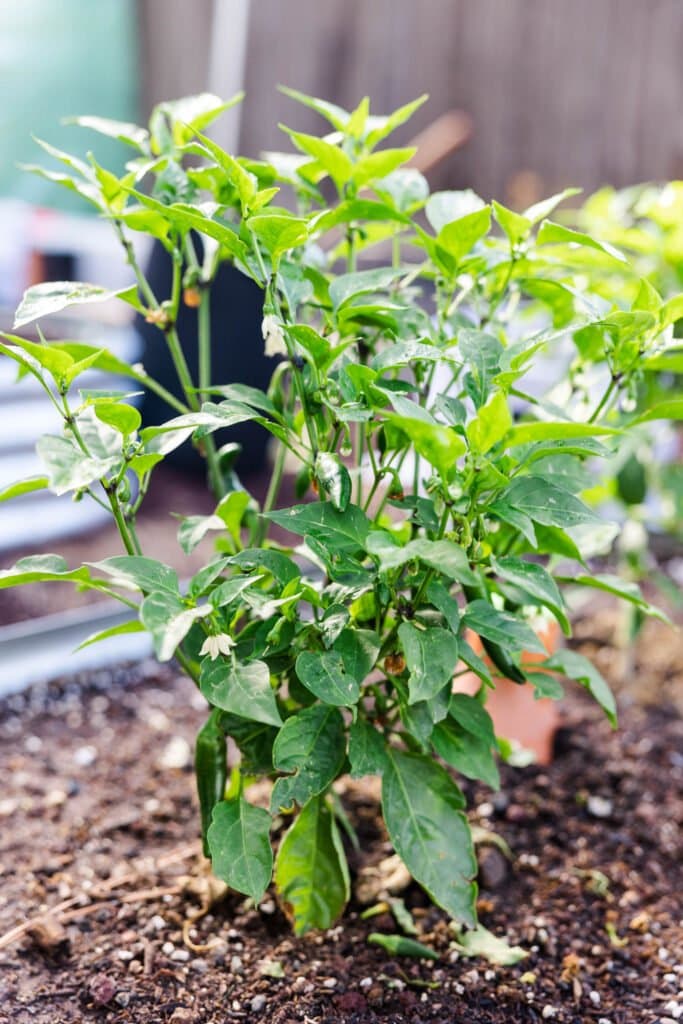
1.Soil
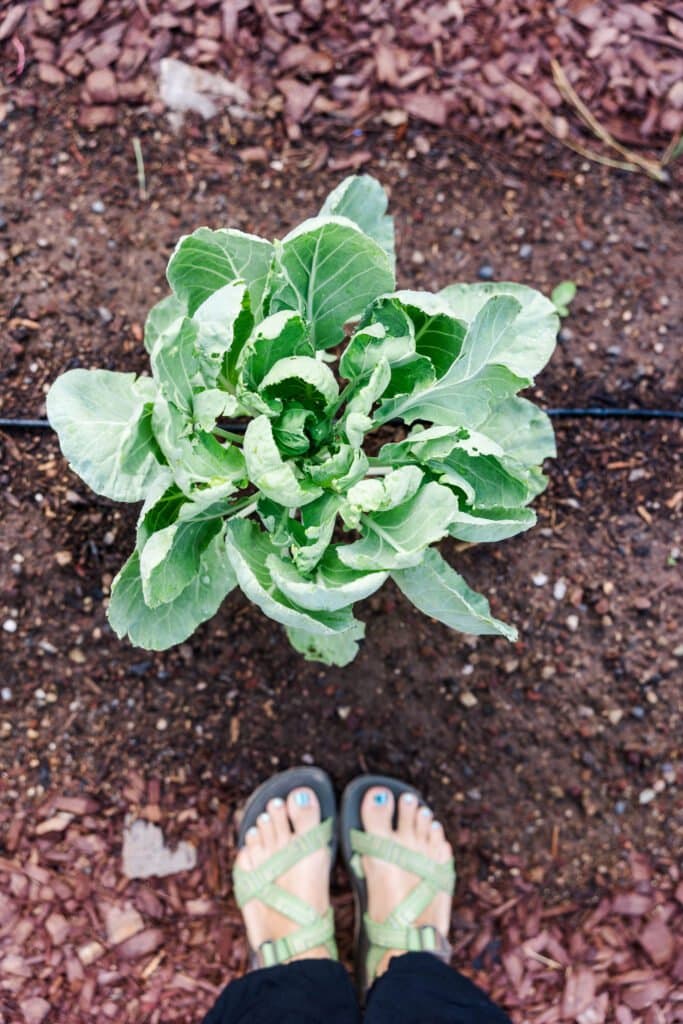
Raised beds vs in ground gardening is always the question people ask first. Both are good options but it depends on your location with the sun, space you have, and soil that is already present. I highly suggest doing a soil test of some kind to see what is in your soil and what you are working with. From there you can better decide what type of bed you want to create. We did both this year as an experiment. In Flagstaff, Arizona we are at zone 6a but with that being said every neighborhood is a little different even in this town based on how close you are to the mountain.
First, look at where you get the most sunlight in your garden. Is it front yard or backyard that gets the most? You want about 6-8hrs of full direct sunlight for your little babies to grow! Next, as yourself what is your soil like. Ours is clay and rock = very hard to work with. Because of this we decided to do the cardboard method. We took and layered cardboard, after stripping it of all the tape, then put 10-12 inches of compost, top soil, and manure on top creating mounds. This will allow the cardboard over the next few months to break down with the natural soil and create a happy environment with worms and healthy bugs. There was NO way we were going to take the soil out to put new soil in. In the spring with the ground still hard from winter this was our best option.
For our raised beds we filled it with the same mixture of soil. You want healthy healthy compost, mushroom or cow manure, and top soil! I also like to mix a bit of the native soil that is around as well. You can get a good mixture of compost at a local farm, landscape location, or garden shop. It’s HIGHLY important for you to get good soil. That is the base from which everything flows! Without good soil, nothing will grow. Invest in good soil once and then you will only have to amend it throughout the years. I used metal raised beds I got on amazon! They work great and hopefully will for years to come.
Also, something else to think about is a fence. We put a small fence around both gardens and farm land to ensure our dogs wouldn’t destroy the plants. Other locations you will need to keep out deer, bunnies, etc.
2. SEED
Decide what you want to plant! This is the fun part. Think about what you buy most at the grocery store or farmers market. We wanted a whole pumpkin patch this year for October and because we have the space in the farm land we decided to plant 4 rows of pumpkins! Luckily they do really well in Flagstaff. You will want to decide if you want to buy seeds or starters. Some vegetables do better with starters than from seed. You can also start starter plants inside in the spring instead of buying them.
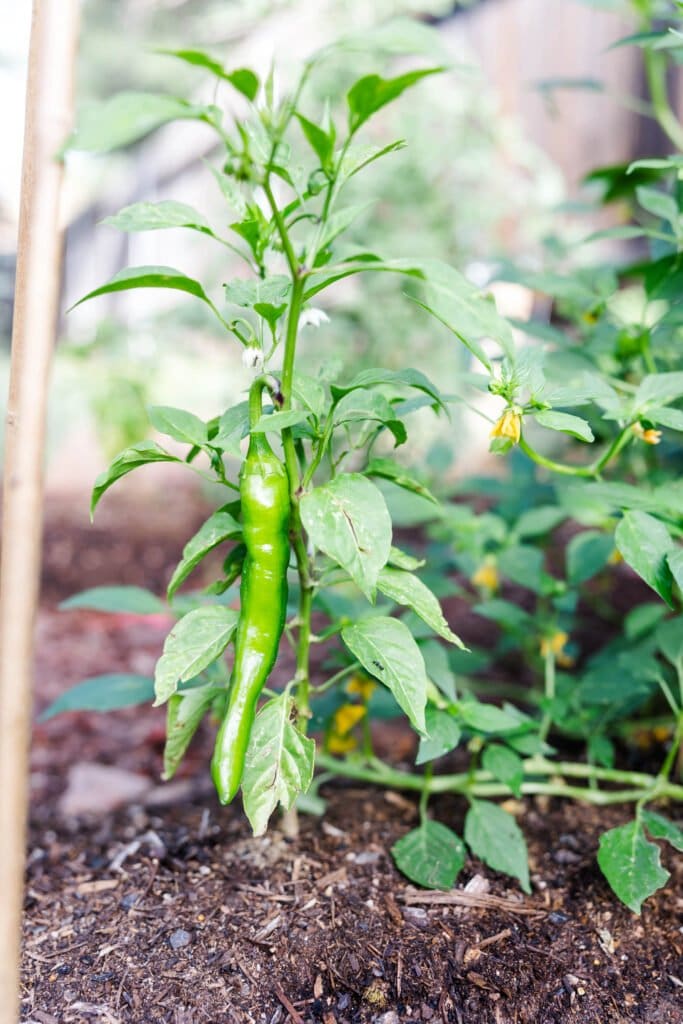
Some plants that grow better as starters: Summer squash, peppers, strawberries, tomatoes, basil, cilantro.
You can buy your seeds online or from in a local garden store or Home Depot.
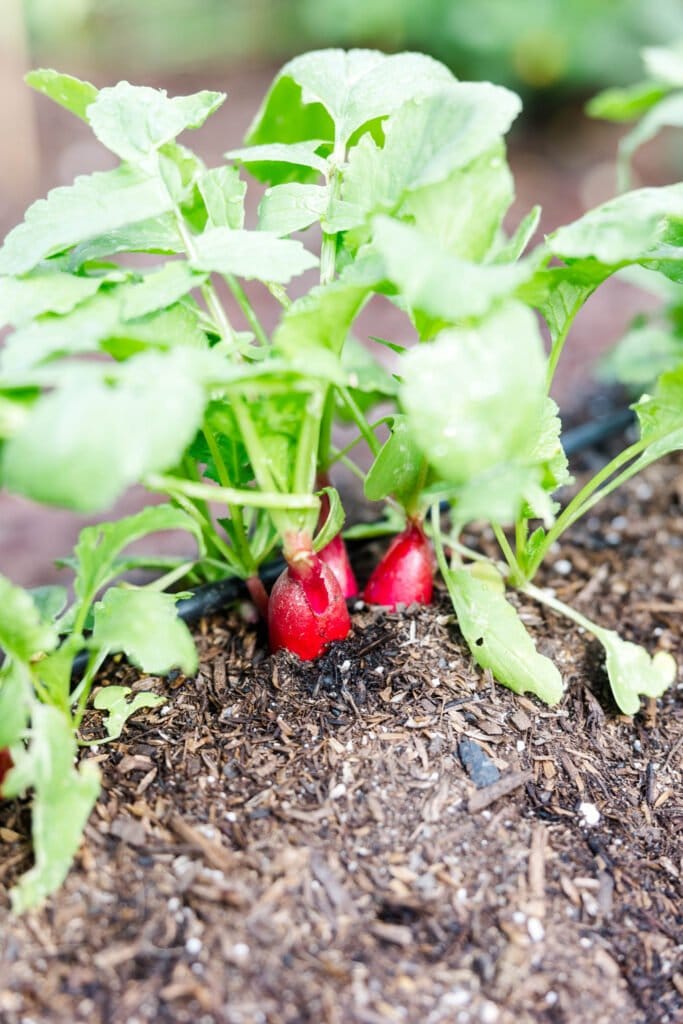
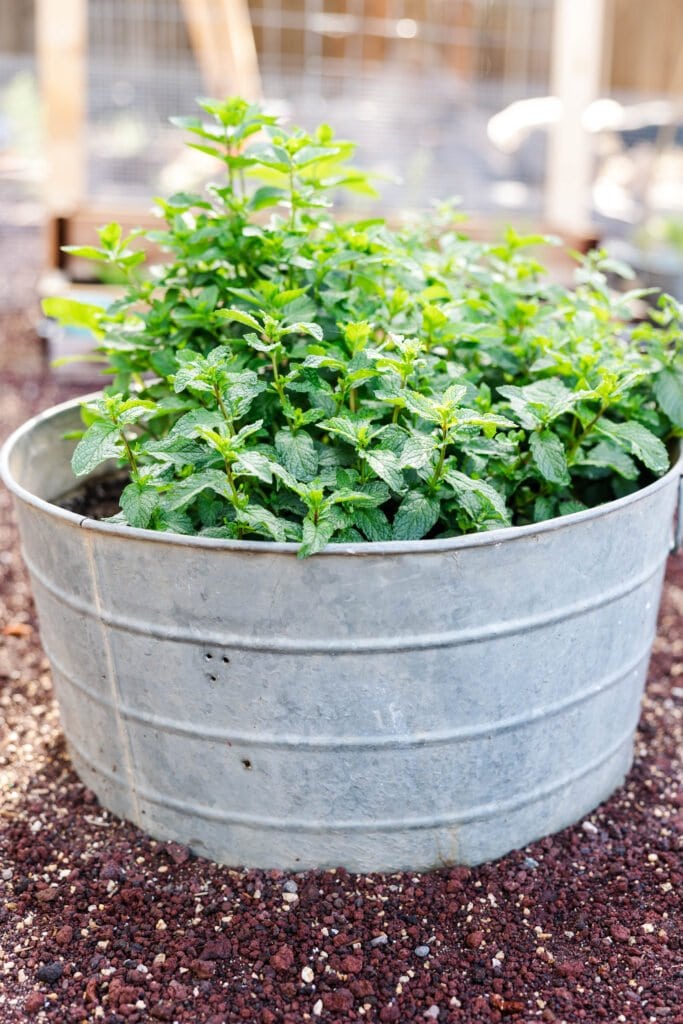
My favorite to grow and eat are: beets, kale, lettuce, radishes, pumpkins, watermelon, squash, mint, onion, garlic, carrots, tomatoes, potatoes, peppers, and strawberries.
3.WATER
Irrigation vs hand watering. Depending on how large your garden is I still suggest irrigation and it’s because you can save SO much more money by directly watering the plants at the base of soil. You actually can save up to 80% of water by not hand watering and doing irrigation. Over the long haul that saves a lot of money on water. We did two different types of irrigation.
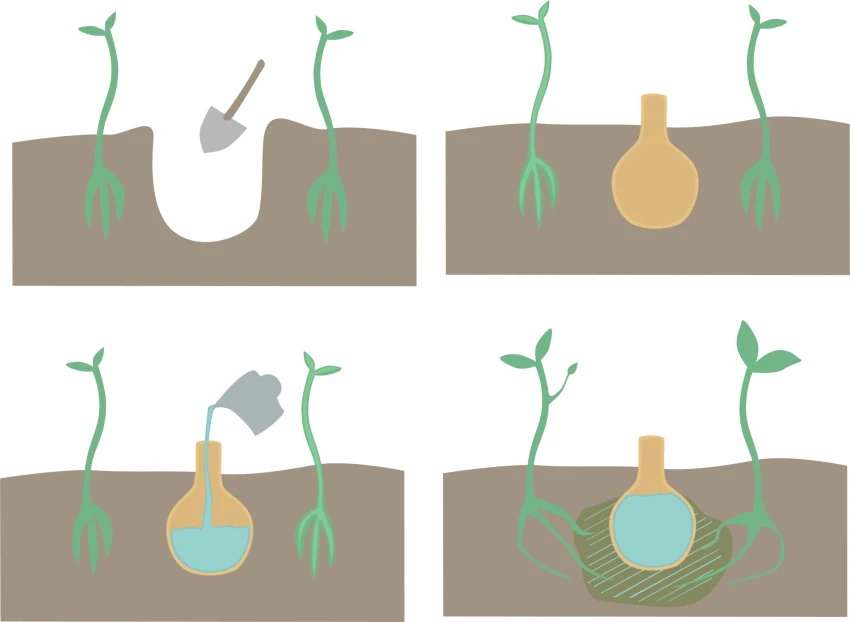
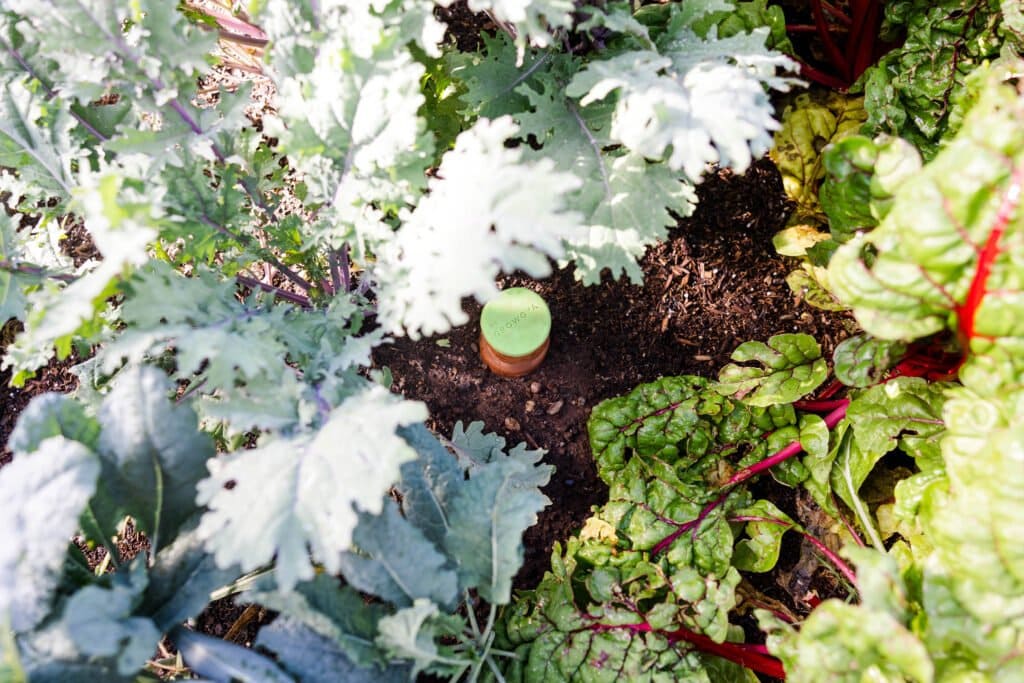
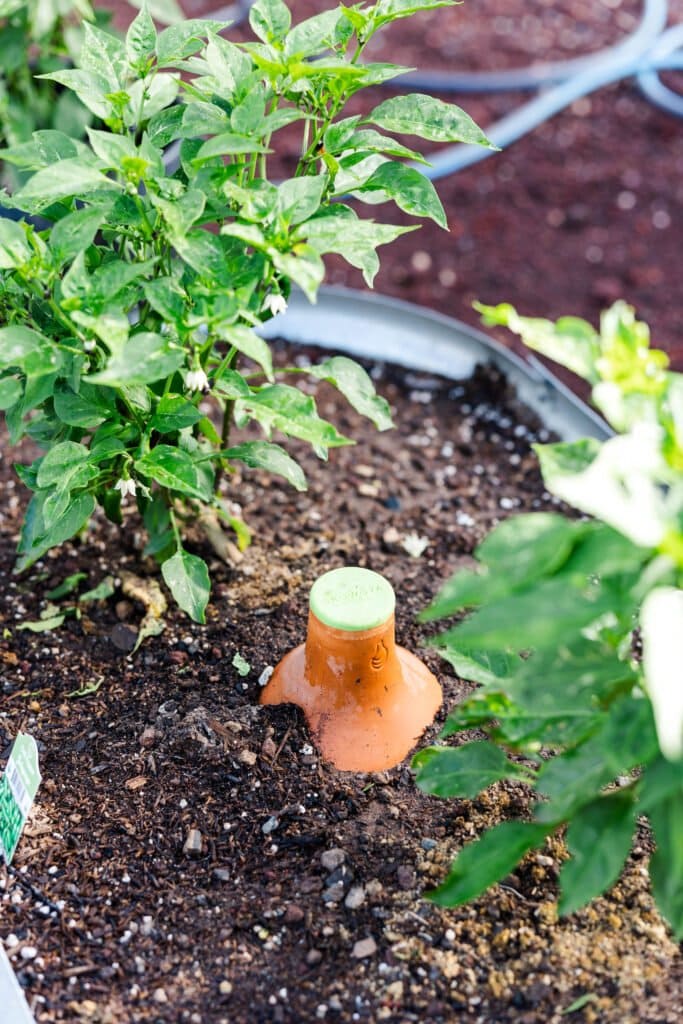
Ollas or Oya- This is an ancient way of irrigation that has been used in Africa and China for over 2,000 years! Native American’s have also used Olla’s for years because of the dry soil and land in the southwest area. That is why I decided to go with a few Olla’s this year in my garden! It works by barring the terracotta pot with only the top showing so you can fill it. Then as the soil is dry the pot seeps water out. The plants grow their roots around this pot. I fill mine once a week and barely have to hand water. I got mine from Grow Oya’s . You can also make your own oya for cheaper!
Drip line-This is also another option and most popular. I watched many youtube videos on how to place a drip irrigation in. I won’t go into detail here but you can watch some videos on it that explains thoroughly. I really had fun placing my and wasn’t hard at all!
4.GROW
When to plant is always the next question!! And that depends on time of year, plant, and your zone. I suggest looking up your grow zone and identifying your last frost. Ours in Flagstaff is June 6th (although that is up for debate by many). I don’t plant starters till first week of June around the last frost date. But do plant seeds a few weeks earlier. Each plant varies in their frost tolerance. Some you can plant super early but then some you MUST wait till last frost or they will die.
We also like to succession grow which means you plant every 2-3 weeks so once you pull say radishes there is a new batch that will be ready to go soon after.
I would read the back of each packet to know the depth of how far to sow each seed. Some for example like lettuce mix we just scattered on the top soil and watered in. Others like pumpkins love to be sowed deeply like 1 in. Once you plant make sure you water well so the seed can germinate. I would make sure the soil is wet for a week after you water then you’ll start to see little green seedlings pop up! This is the exciting time.
Maintaining:
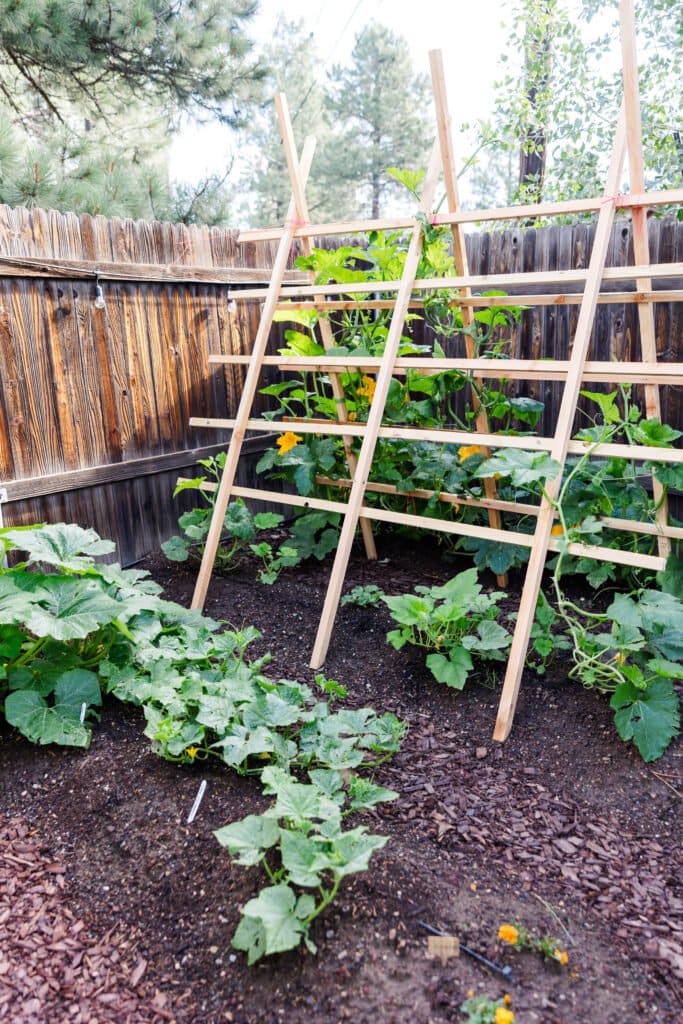
The garden needs constant maintenance, especially if it’s an organic garden. I like to go out to the garden and weed daily as a morning ritual. Check in on the plants. As they grow you will need to trellis a few such as peppers, pumpkins, watermelon, tomatoes, beans, peas. It’s best to do this at the beginning when you plant but you can also do it after they have grown a bit. Make sure you don’t disrupt their roots. Bugs and pests can be a big issue during the season. I would talk with your local garden consultant if there is one. My friend Sara is in Flagstaff and is an amazing resource for all things gardening + farming at elevation. You can find her at Harvesting Roots.
Other resources:
-This guys video was really helpful to start my garden!
–Epic Gardening– he is a really good resource on all things gardening! You can find him on instagram too!
-The Market Gardener book
–The Family Garden Plan book
